


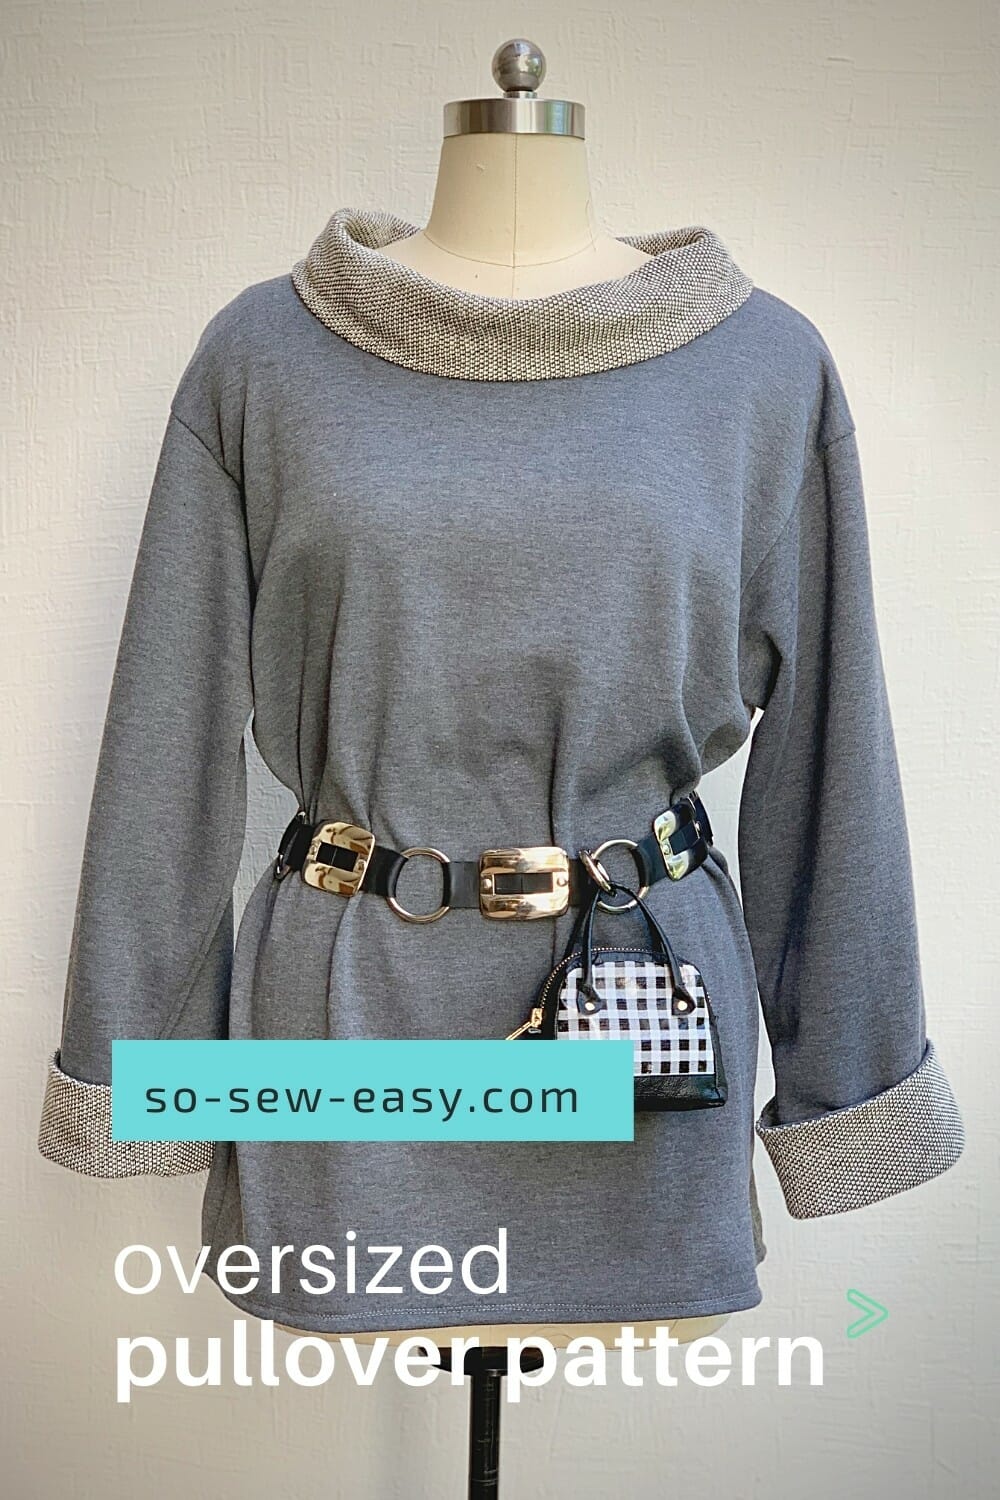
An Oversized Pullover Top is a basic item in my athleisure wardrobe, and I am very happy to share it with you this weekend.
In case you missed it, last week we made the City Joggers Pants that so many of you downloaded last week. I big thank you to those of you who donated to the site using Kofi. Some of you choose to be anonymous, some of you chose to leave a message which I greatly enjoy reading every week. Honestly, some of the messages are so kind that it makes me cry sometimes. Thank you, even if I do not know who you are, it is so heartwarming.
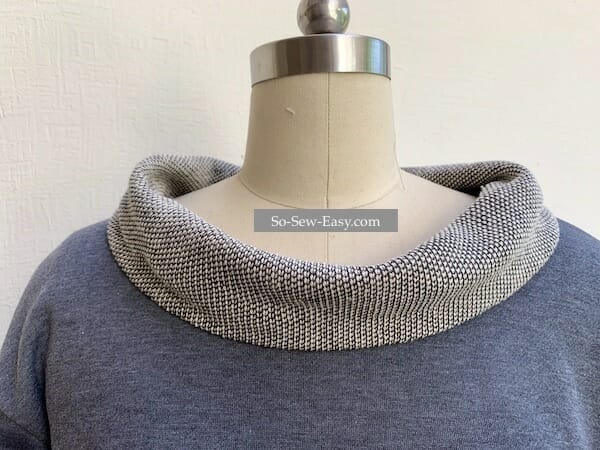
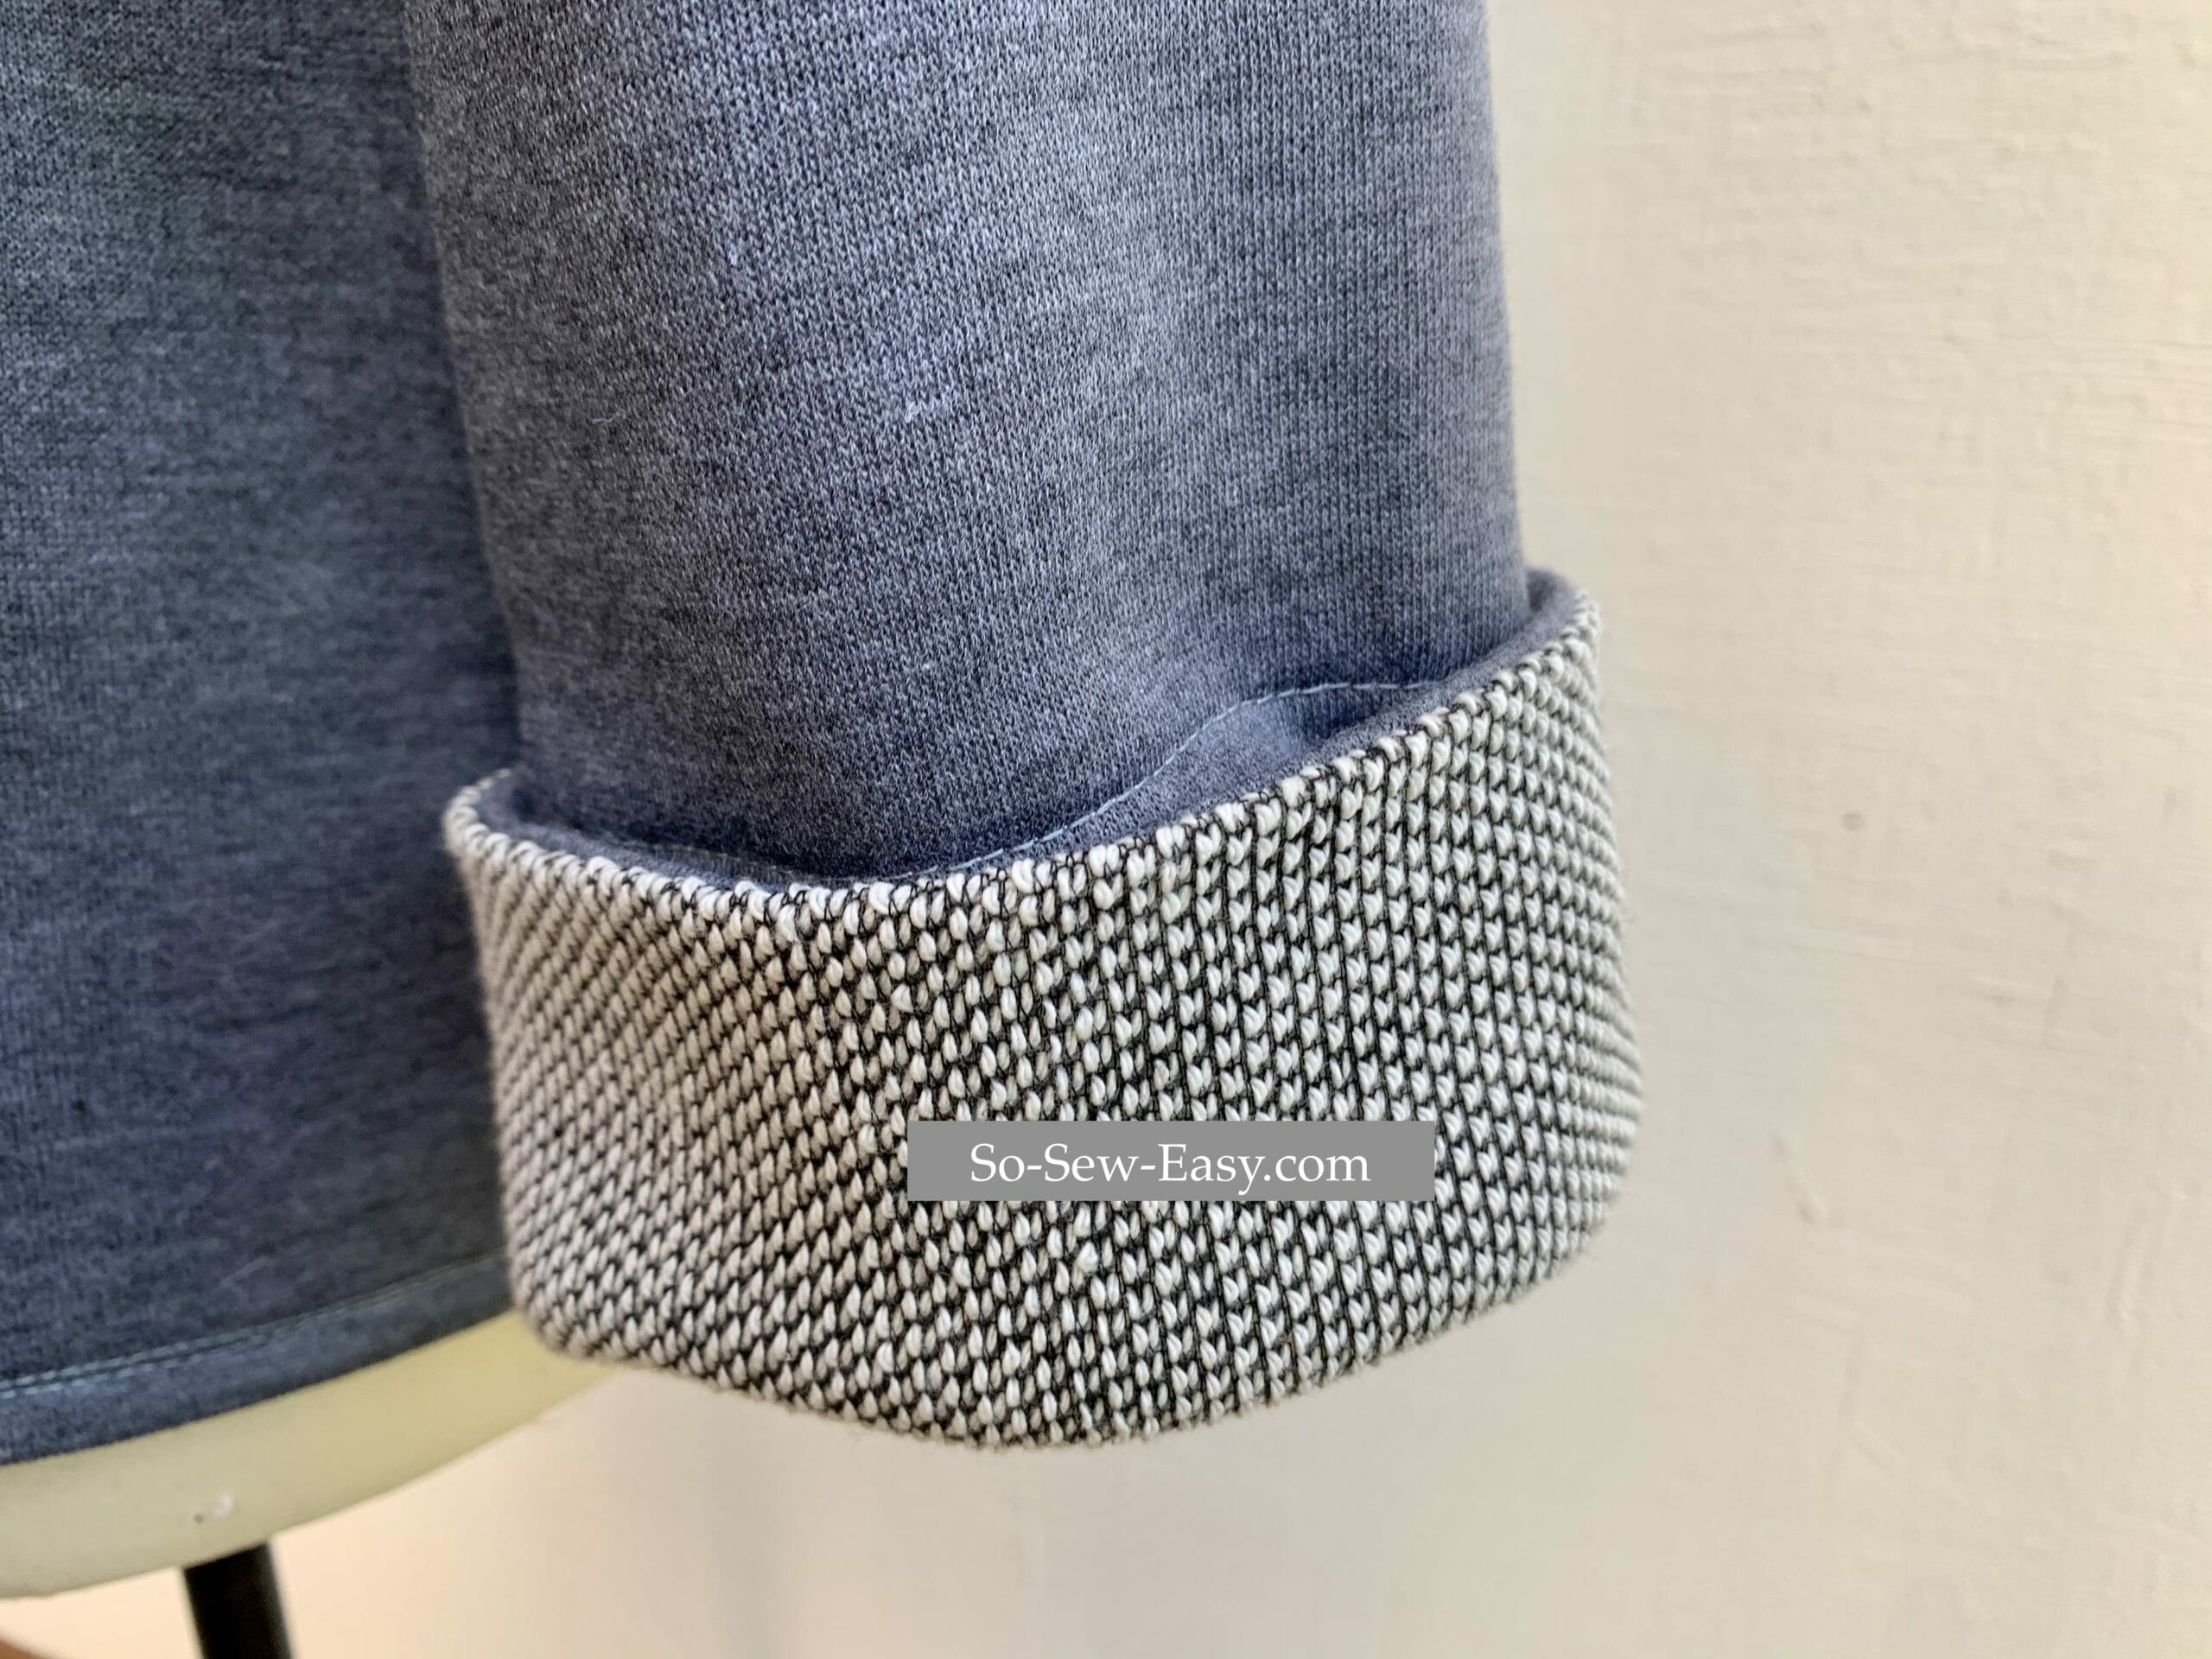
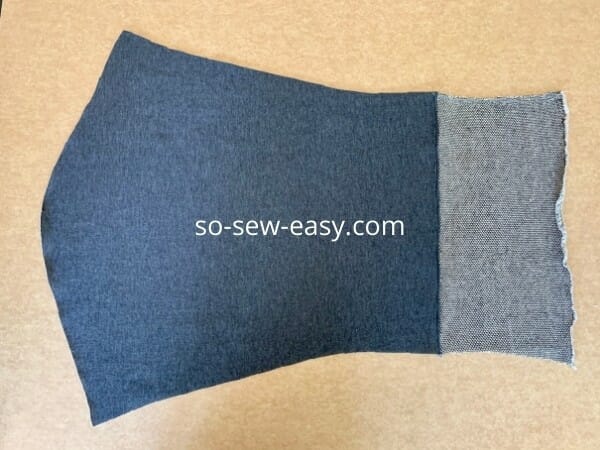
Back to this project, I have used a contrasting fabric so you can see how the neck and sleeves look folded. You certainly do not have to do the same. I have also shortened the sleeves and the torso of the pattern so my daughter, who is petite, can wear it with a mini skirt, thick leggings, and a pair of over-the-knee boots.
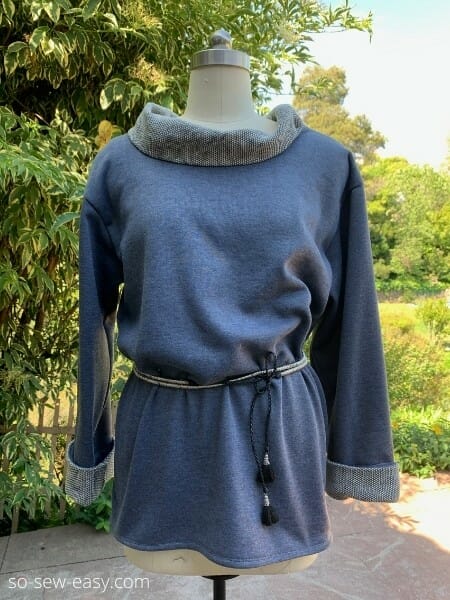
This oversized pullover top is the kind you can make in a couple of hours. It has a cowl collar to keep your neck warm.
It has rolled sleeves that match the collar.
Materials
- 1 1/2 yards of 62″ wide medium weight cotton fabric with minimum 25% lycra, double knits, sweatshirt knits, polar fleece, knitted velour
- 1 yard of double knit to contrast the collar and the sleeve (Optional)
- thread to match
Tools
- sewing machine
- rotary cutter (optional)
- serger (optional)
- scissors
- pins
- jersey sewing needle number 70 or 80
Fabric recommendations
How To Print Your Pattern
If this is your first time here and you need help to download and to assemble a pattern please read this article. Open the pattern file using Adobe Reader and print on actual size.
Print and assemble the pattern before you cut the fabric.
How To Download
We will continue using the new Payhip web store to distribute our patterns.
Our patterns are still free, but now you have the option of making a small contribution if you like our work! We'd appreciate it, and it will help us keep going with new and fun designs like this. Even a dollar or two goes a long way.
Thanks so much in advance for helping us out. You can use any credit card, and you don't need a Paypal account, although you can use one if you have one.
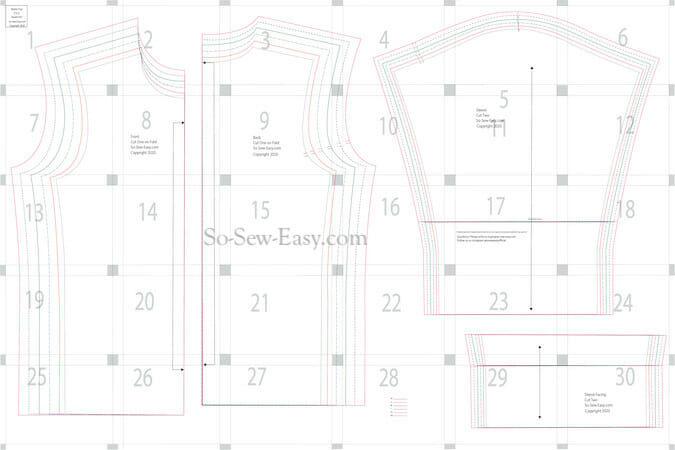
Pattern Layout For The Oversized Pullover Top
Garment Finished Measurements
| Size | Bust | Length |
| XS | 43″ | 29 1/2″ |
| S | 45″ | 30″ |
| M | 48 1/2″ | 30 1/2″ |
| L | 52 1/2″ | 31″ |
| XL | 56 1/2″ | 31 1/2″ |
| 2XL | 60 1/2″ | 32″ |
Sewing Instructions
Sewing Level: Advanced Beginner
The seam allowance of 5/8″ is included.
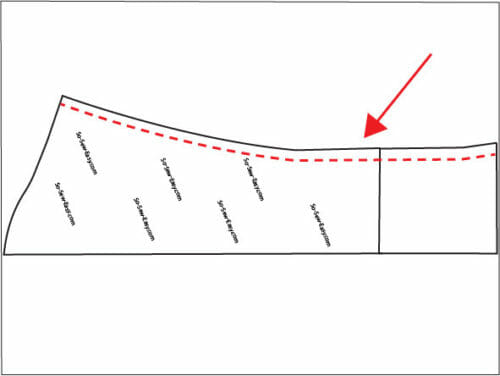
The cowl collar piece must be drawn according to your size and is not included in the pattern. It's a simple rectangle that would otherwise take up a lot of space in the pattern.
If you want to modify the length please have a look at this tutorial on how to lengthen a pattern.
Step One: Sew the shoulders
Sew the shoulders at 3/8″. Serge the seams.

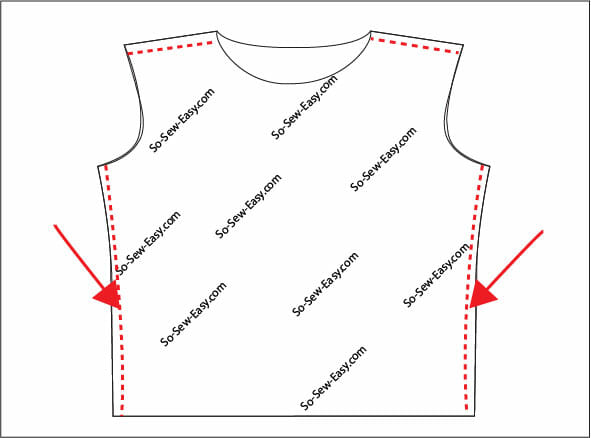
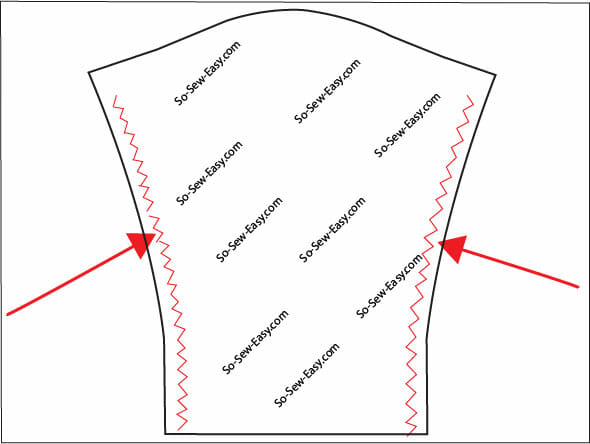
Step Two: Sew the sides
Step Three: Sew the sleeves
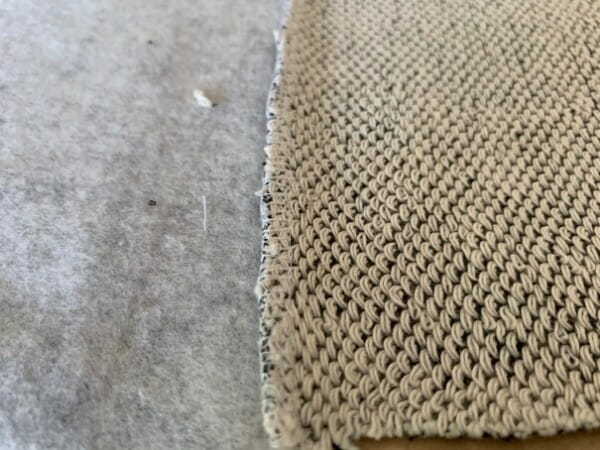
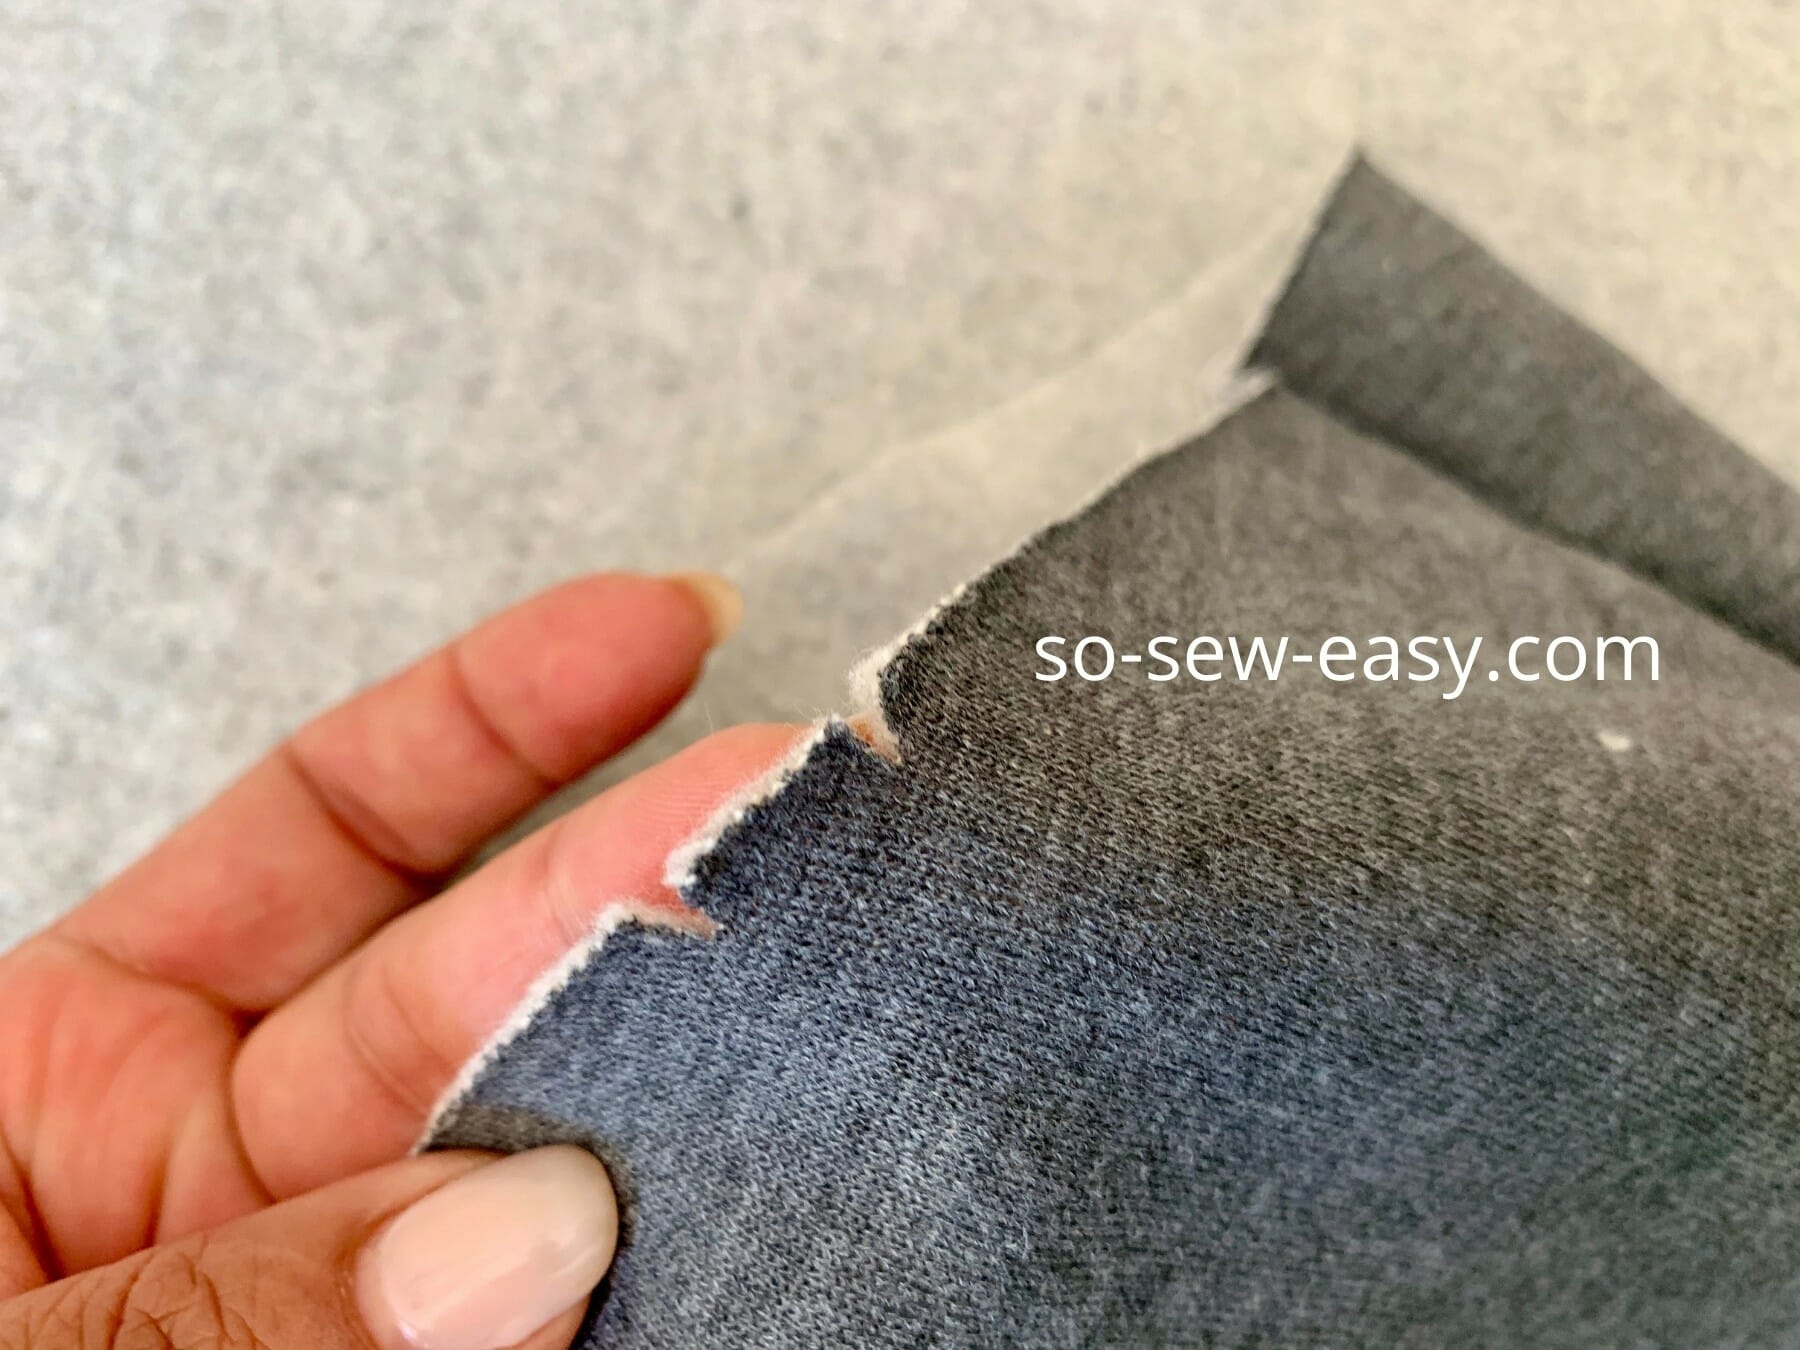
Serge the sides of the sleeves.
Serge the narrow edge of the facings.
Attach the sleeve facing to the hem of the sleeve.
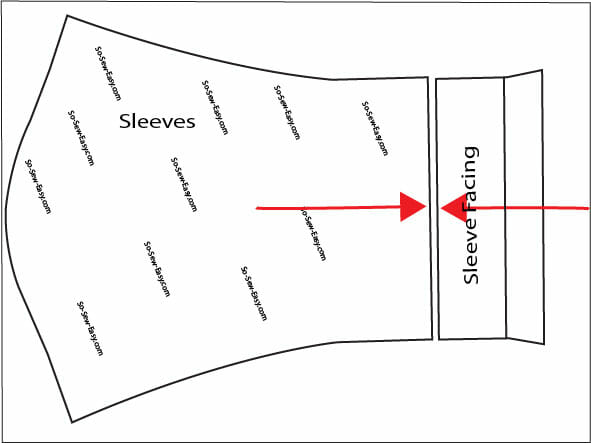
Print sides facing each other sew the facing to the sleeve at 3/8″. Serge.
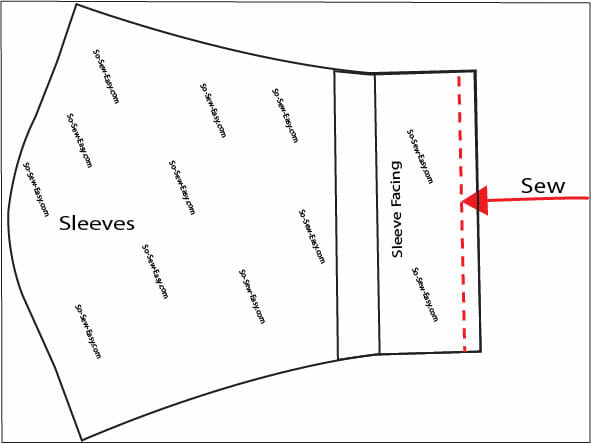
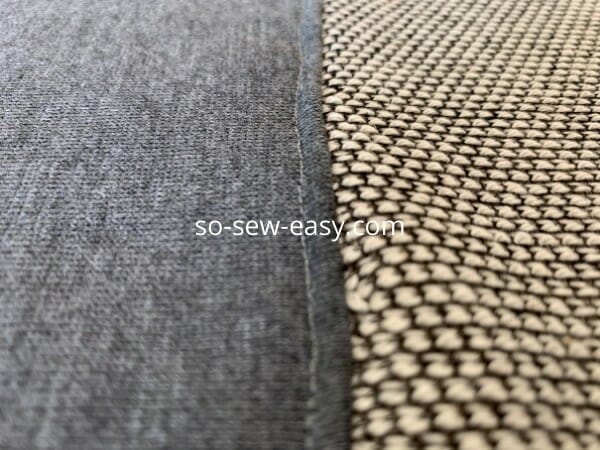
Topstitch the facing, make sure the facing is laying flat and the sleeve side has turned.
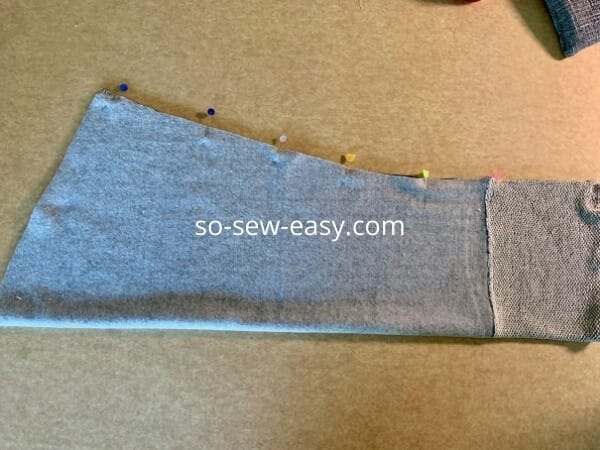
Fold the sleeve print side facing each other, sew the sides of the sleeve from the arm to the facing hem.
Step Four: Sew the sleeve to the body
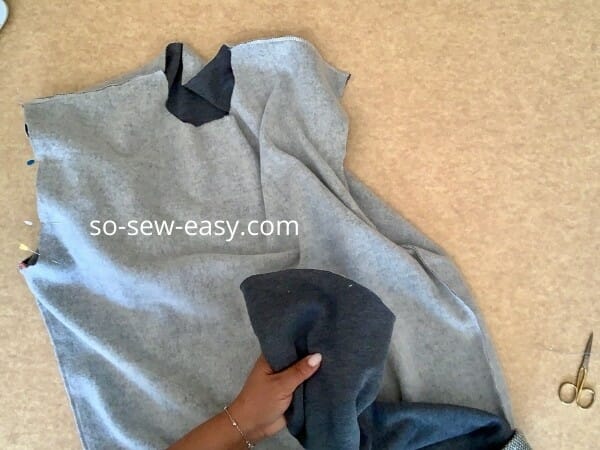
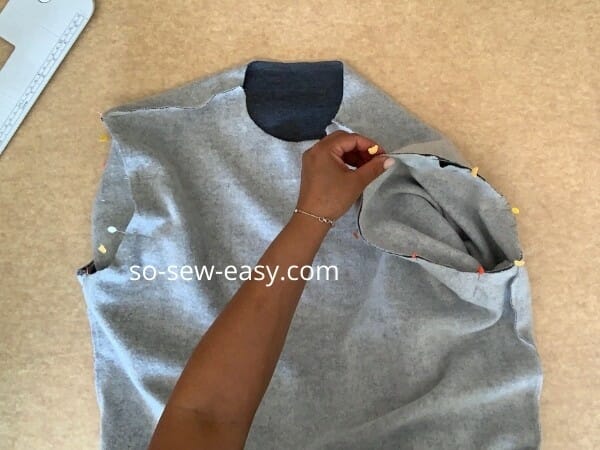
Place the body of the oversized pullover top wrong side out on the table, front facing you. Turn the sleeve right side out.
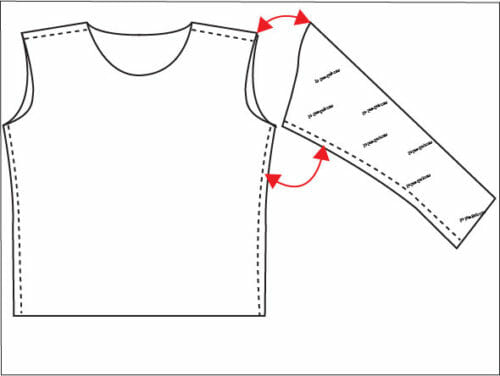
Insert the sleeve into the armhole.
Align the notch of the sleeve to the shoulder seam.
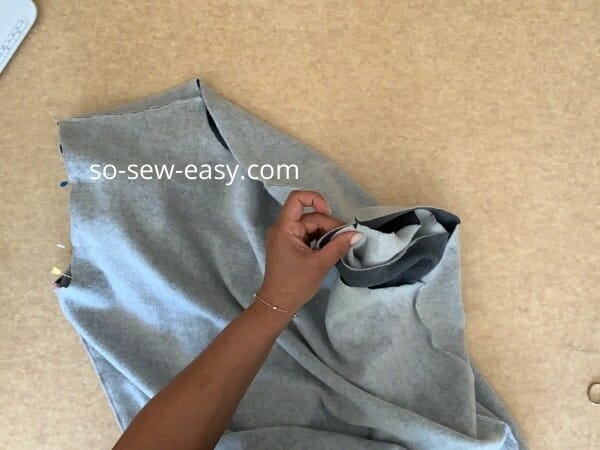
Align the sleeve seam to the side seam of the pullover top.
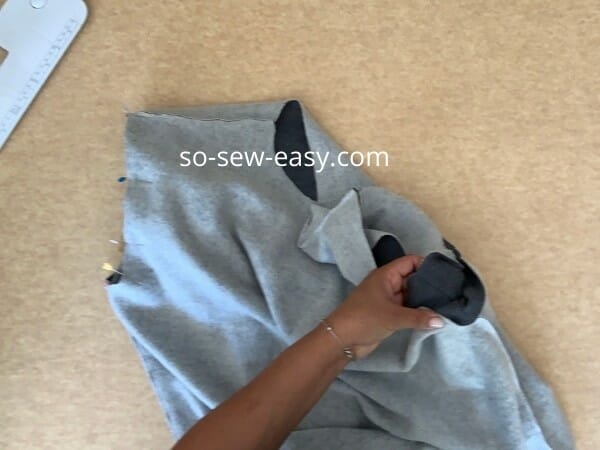
Make sure you have the back of the sleeve towards the back of the top. This is easily seen as a two-notch mark on the sleeve.
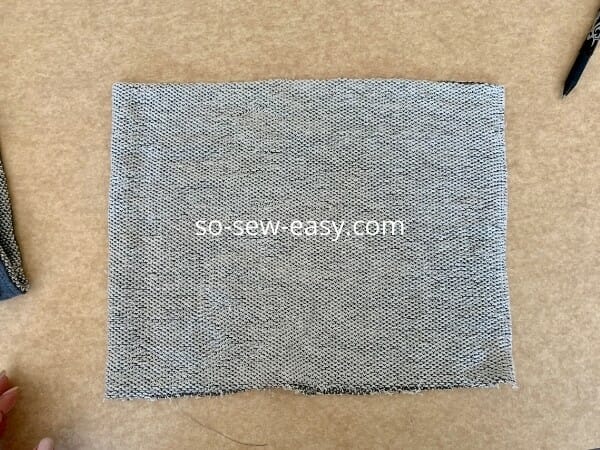
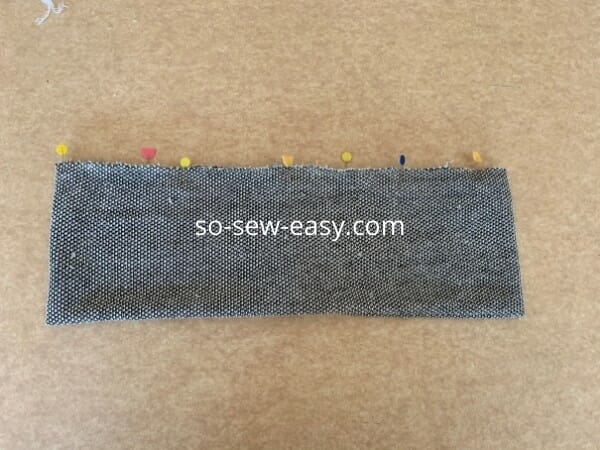
Step Five: Making the cowl collar
Measure all around the neckline.
Trace a rectangle using the measurement you have taken from the neckline, minus one inch, add the seam allowance times two.
Sew the rectangle on the narrower side.
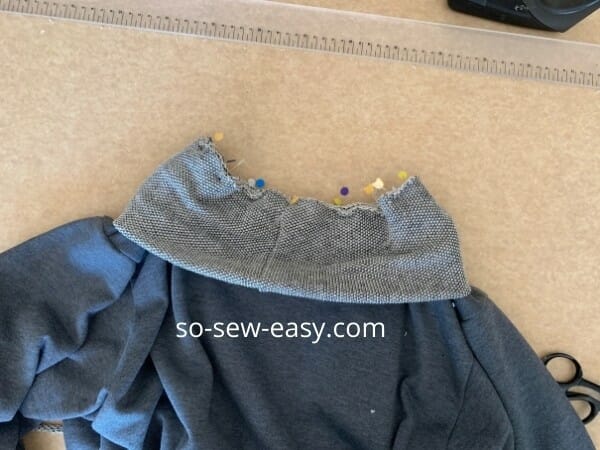
Fold lengthwise to make a band. Mark the center of the band and the sides to match with the shoulder seams, front and back of the pullover.
Sew around the neckline, make sure the seam of the collar matches the back center of the pullover.
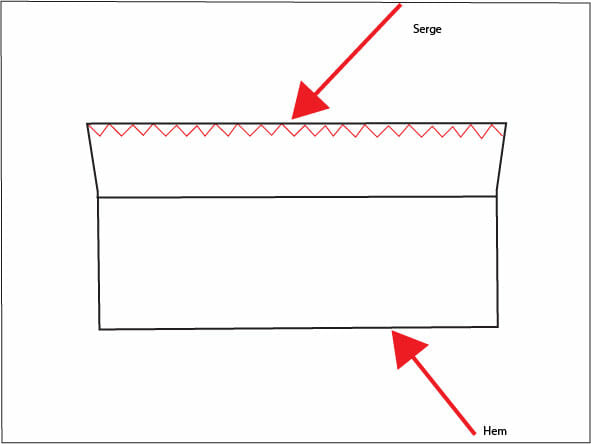
Finally, hem the pullover top.
Next week I will be showing you three ways to hem using the machine you have at your disposal. A basic sewing machine, serger, or a cover stitch will all be covered.
Hope you enjoy this oversized pullover top pattern, it makes for a good sew and a great last-minute gift, perfect for a young girl or anyone wanting a relaxed look.
Let me know how you went in the comments below. And, Until Next Time, Happy Sewing.


Make sure to print using adobe reader, google drive messes up the pattern. I messed up this bit…. but make sure to get 3 yards of fabric for your main fabric also. I got 2 yards and I got the front and back cut but there was not enough for the arms. I have only made a couple clothing pieces and was worrying about the requirements, I should have went with my intuition and got another yard.
I could not find any instructions to finish the cuff- or notation as to how you finished the hem- I will have no problems finishing the garment, but it would be nice to know your intention
It might also be a good option to finish sleeve all in one fabric with instructions as to how to anchor/and how much extend and to fold when using one piece sleeve.
Then the process could be used on any sleeve that is too long.
Thank you for all you patterns-J
Hi Jen Great suggestions, perhaps you would like to read the instructions I have already written on the site. I will add more pictures of the hem so you can see how I have finished it.
I live in a hot climate. Could this pattern be made from “flowy” fabric?
Ye you can use, Bamboo knit. Silk Jersey or cotton jersey mind. Lightweight.
I’ve almost finished the top, but I don’t understand how to finish the cuff on the sleeves. you end with showing how to set the sleeves but not how to finish the cuffs.
Thank You for your help with this.
Why do you say its “free” but it won’t download unless you add an amount
Thanks for the pattern. Is there anywhere I can check the body (not garment) measurements for the x small size. Above it says x small has body measurement as 43″ but I’m assuming that is the garment . My bust is 32″ HB 30″ so a large difference I have purchased patterns from you but haven’t been able to sew yet so am unfamiliar with your sizing. tia
Hi Lyn, thanks for the comment indeed I have mislabelled the chart, they are garment finished measurements. It is an oversized top so allow at least 8 inches of ease.
Are the measurements given actual body measurements, or pattern measurements? I usually wear a 2x, but those measurements are a lot bigger than me!
I could live in this top and the city joggers from last week!
I didn’t see how thick to make the cowl neck triangle, What suggestions do you have for thickness?
11″ included the seam allowance.
How deep is the rectangle for the collar in order to give the rise and fold or drape shown? Only the length measurement calculation appears in the instructions.
11″.
Cute top but I can tell you don’t live where it’s really cold! There’s too much skin exposed for me to wear this alone, in the winter in Minnesota, no matter what it’s made out of. But I always wear a layer, usually with a turtleneck, all winter, anyway.
Could you please tell me how deep to make the rectangle for the collar?
11″
Thank you for answering my query and thank you for such a lovely pattern. I live in Cyprus so only have about 6 weeks each year when it’s chilly. I really look forward to wearing my cosy clothes and this will be perfect. Thank you again.
My Pleasure Lynn.
Thank you so much.I love the collar
It is my pleasure, Lynne.
Thanks for the pattern, though I think it will be too large on me. I’m assuming the “Body Measurements” you listed are finished garment measurements? My HB is 30″ and FB 32″ so the smallest 43″ is is a lot of ease, looks cosy though. I’ve purchased but not made your patterns yet so I’m unfamiliar with the sizing. I’ve stayed the same size since puberty (50yrs!) but have been outsized with ‘vanity’ sizing, so hard to get patterns and clothes to fit 🙁 thanks though.
Hi Lyn, it is cosy and yes it is “oversized”. You are so right but imagine if I publish the sizes as they should, I would get so much hate mail. PC has been so toxin it is suffocating us all. I see your dilemma, I used to work in Sydney as a pattern maker and the smallest size is still 2 or 3 sizes too big for you. Dotty might be the only label that would have a size for you but can be a little trashy.. I will keep you in mind for the next year especially on the upcoming series “Dressing like Channel” Kind Regards,
Can I ask where we can get the pattern for the tiny purse in the pic please? Thanks
Hi, I shared this pattern a couple of months ago. Please check your email it is under “tiny Boston bag”
awesome , thank you
This is really a pretty top. I love the cowl. But, I tried to find how wide to cut the cowl piece. It’s easy enough to measure the opening for the length. I’m just not sure yet about the width….Thanks
I might have forgotten that detail. It is 11″ including seam allowance but if you want the cowl wider, play around with a piece of fabric and see how it looks. Thanks for letting me know.
I think this is a really great pattern. I am curious to know if there is a reason you have not used a flat construction to insert the sleeves? I find this method much easier and use it whenever possible.
You can if you want, the difference is on the way it drapes, being a medium weight fabric it lumps on the armpit. Had I used a more fluid fabric I would have used the flat method. The flat method is the trade way of attaching sleeves in a mass production method, it is used to save time while sacrificing esthetics depending on the fabric of course.
I never knew this. But true, it does save time. I’ll try it like this! Thank you!
I had this same question, I never knew that difference, I’ll try it too!
Does the collar need to be cut on the bias or on the crosswise or lengthwise grain?
Hi Karen, the rectangle needs to be cut with the biggest stretch (horizontally) around the width of the neckline.
Thank you for sharing your wonderful patterns. Your hard work is much appreciated.
It is my pleasure!