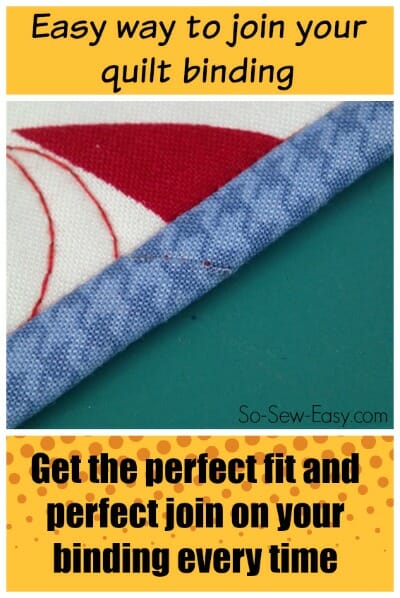
I know that for many of us, sewing on binding is our least favorite part of a project. It usually comes at the end after all the other hard work and investment, and is a very visible part of the end result. If it doesn't look good, then it can leave you feeling let down 🙁
I've recently been practicing my binding skills and especially this week practicing on how to join the two ends of the binding at the start and finish, where they meet. I don't know what I was doing wrong, but I just couldn't get it right. It was always wonky somehow, or I'd measure what I thought was the correct amount but then it would end up just that little bit too long and I'd get puckers trying to make it fit. Arggh. Frustrating. Until the lovely Lucy from Granny Sassy Designs, my quilting mentor showed me the solution to all my binding joining worries. She makes it look so easy and – it is! I hope I can explain it properly.
How to join quilt binding
Let's pretend that this is a quilt, mug rug, wall hanging or some other kind of project I've been working on that needs binding around the edge. You will need to make sure you have plenty of length to your binding, and ideally, at least 10 inches extra length in addition to the edge to be bound. Here I'm just working on a practice piece for ease.
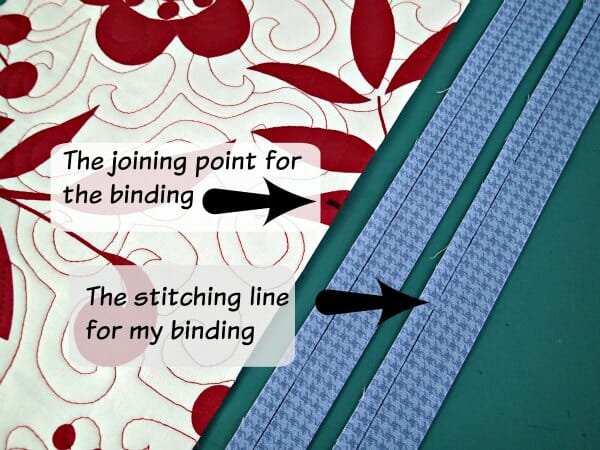

Cut your straight cut binding strips. I'm using 2.5-inch wide binding, folded in half to make it 1 and 1/4th inches wide. I find this works nicely with a 3/8th of an inch seam. If you have a very thick batting you may need to allow a little extra in your strip width for that thickness – test it and see or move your needle to get the seam allowance just right.
First, decide where the approximate join is going to be. If it's pretty invisible that shouldn't matter too much, but don't make it too close to a corner because you'll need space to work. I've marked my join point with a Sharpie so you can see it.
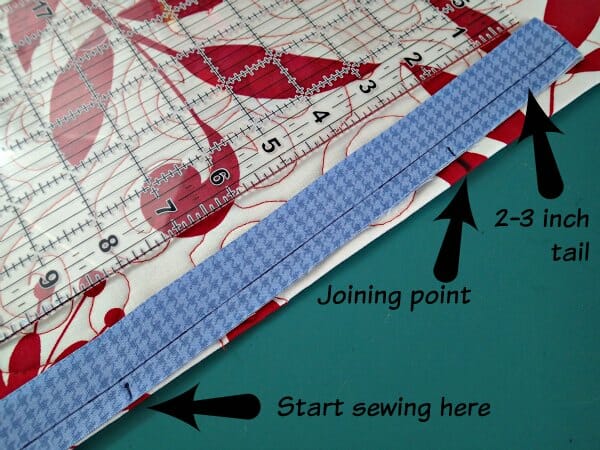

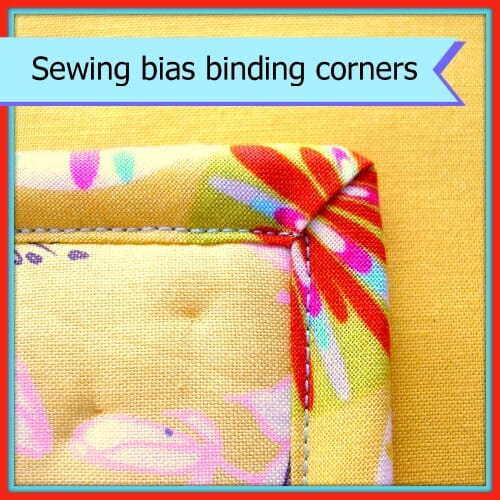
Leave enough of a tail to cover that mark plus about 2-3 inches and then start sewing about 6 inches away from the join mark. Sew on your binding with the 3/8th of an inch seam (or whatever you have chosen for your project), and complete all the way around until you get to the final side again. (See this earlier article on how to turn corners with binding.)
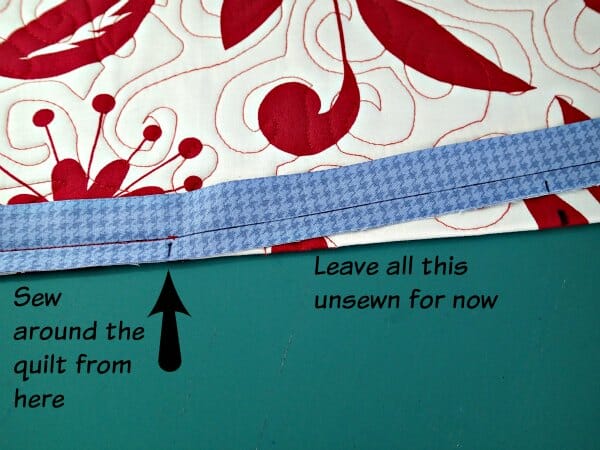

As you approach your joining point from the other side, stop sewing about 6 inches away and make sure you have enough binding left over to go past your joining point by another 2-3 inches.


Snip off the extra binding. If you smooth your binding out now, both ends should overlap and go 2-3 inches past the joining point.
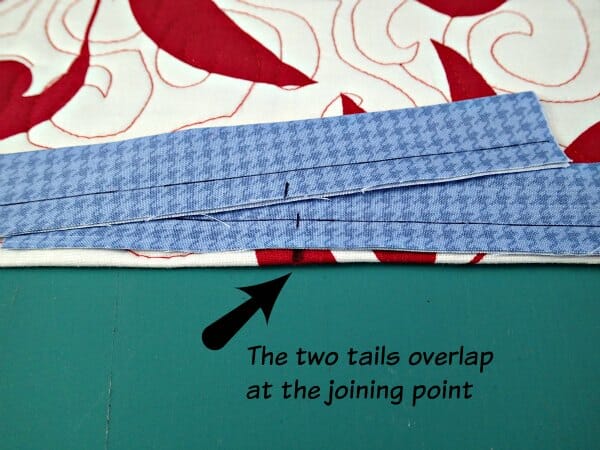

Take some of the extra binding that you have snipped off and open it out to the full 2.5 inches wide. Line up the binding over the join point so the center crease in the binding is right over your join point.
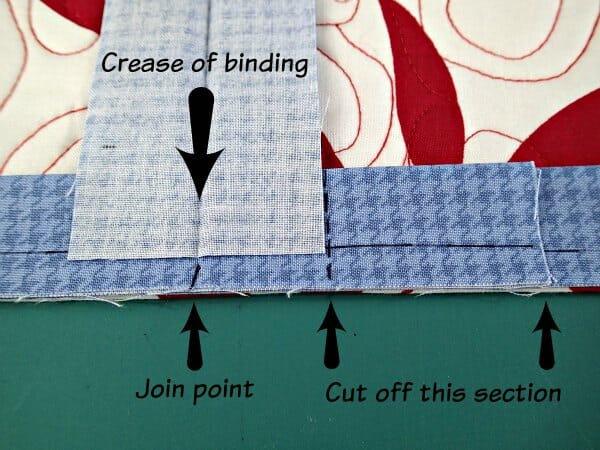

Mark the top piece of binding on the side away from the stitching, and cut off any extra. Fold this piece of binding out of the way now, this is cut to the right length.
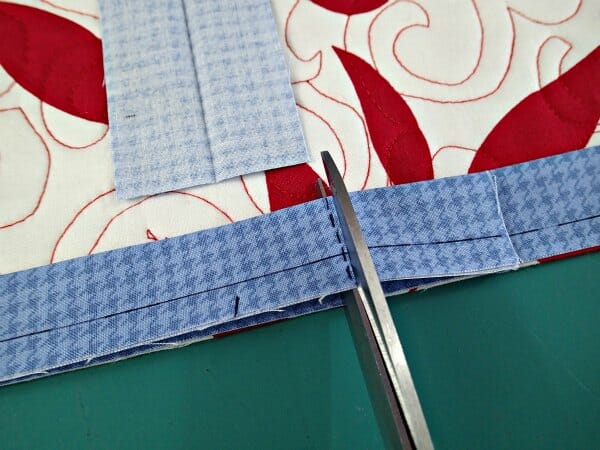

Mark the lower piece of binding on the side opposite to the stitching and cut off the extra. Now if you overlap the two binding pieces they should exactly overlap the same width as the binding strip. Double check that. Good.
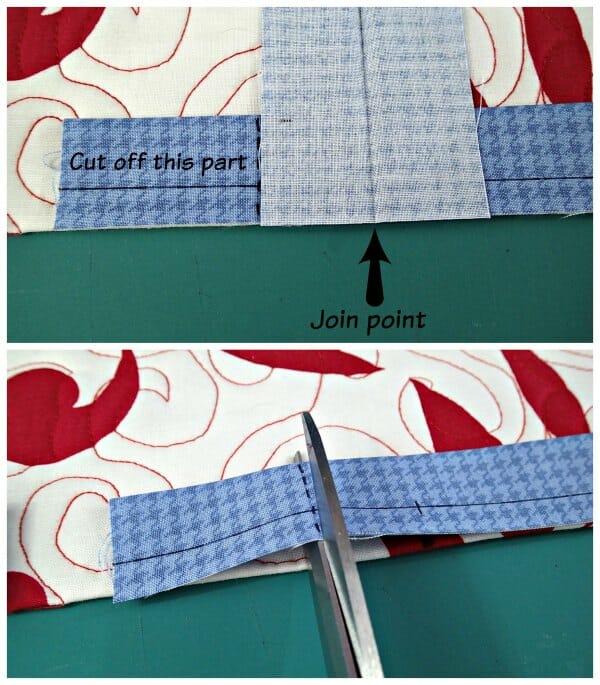

Time to join the two pieces. Fold the quilt in half at the join point to give yourself some working space. Place the two pieces of binding right sides together at a 90-degree angle, matching up the ends nice and square like this. Add a couple of pins if you need to.
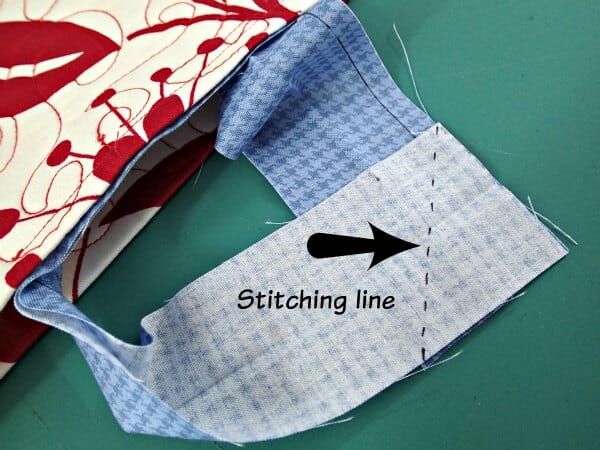

Then sew from the one corner to the other through both layers. To double check which direction to sew, the point should be on the right of your needle and the quilt will be on the left. Open out to check you've done it correctly and if you are happy, cut off the excess fabric leaving a 1/4 inch seam. Press the seam open – finger pressing should be fine.


Fold the binding back in half, smooth it out even with the edge of your quilt and sew the gap between the two points of stitching. Your binding should fit in there exactly – like magic!
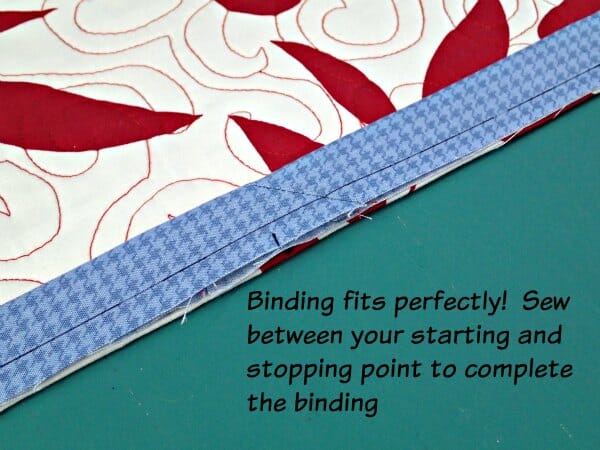

Now you can turn the binding over to the other side and finish, and you'll barely be able to see the join. Obviously use matching thread, not the contrasting thread I used for this example.
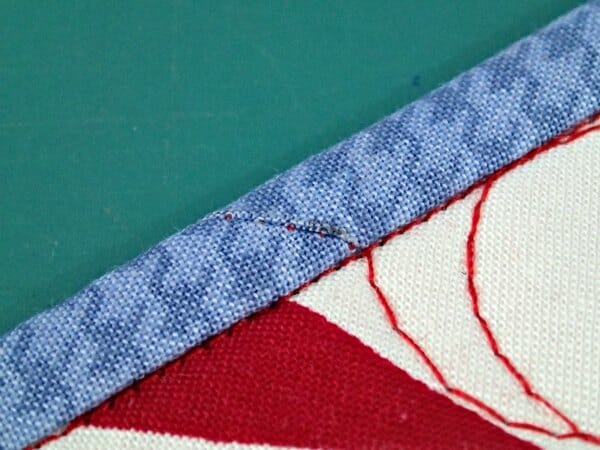

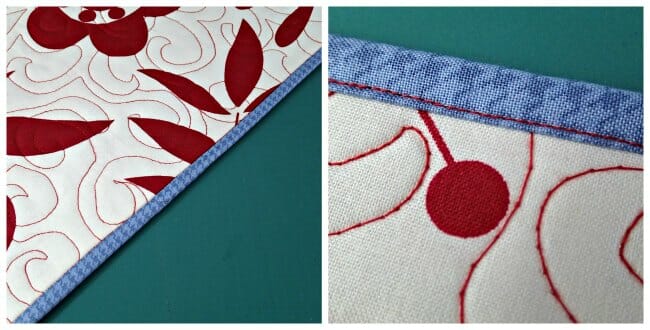
I stitched in the ditch from the front and caught the back of the binding evenly on the reverse. The join is nice and smooth, the binding fitted perfectly with no puckers. Easy when you know how!

More useful binding articles for you:
- Binding calculator – how much fabric do you need to create a certain length and width of bias tape?
- Pinterest feature – some of my favorite bias and binding pins




Thank you SO MUCH for this tutorial! I have been trying to learn how to connect the binding for quite a while, but never could get it. This made the process really simple.
[…] noted in our post on making and using binding, depends. I will usually sew and trim the tails (So Sew Easy has a great visual on this method). For straight binding, I sometimes cheat on the sleeve method […]
Great tutorial! My joining now looks much more professional! Thank you!
Great article. The only thing you left out was which dude off the quilt you should see the binding on.
Sew the binding to the front then wrap it to the back. You can hand stitch down on the back or machine stick “ in the ditch” from the front.
Wow! That makes it really easy! Thanks!
Does this work if you use a 1/4 inch seam on the edge?
I have been overlapping the binding ends on those projects I have that have binding all around. This is much better. It appeals to the neurotic perfectionist in my soul and will look better when I get around to making that one dress finished with binding. Thank you.
This was great! I have been struggling with bindings for several years and could never get it right, looking at pictures in books, etc. Leave it to Mayra to make my life much easier! I am happy I have conquered this! Thank you!
Thanks, Mayra for the great tutorial especially sewing the binding with 3/8 of an inch instead of 1/4 inch. When you sew the binding with 3/8 of an inch, do you stop at 1/4 of an inch at the corners or 3/8 of an inch?
Hi Diana, you stop at the amount of your seam allowance you are using on your project regardless or what it is. Using a 3/8″ I will stop at 3/8″. Kind Regards,
Brilliant, worked perfectly, thank you so much!!
I struggle each and every time I try to join binding ends. This was by far the easiest way I have ever tried, and I have tried almost all of them. Thank you so much. My binding on my mini quilt looks perfect. I did not have to walk away for awhile and try another sight. This is where I will go from now on.
I make mini quilts and I always struggled with joining the binding – I ripped out a lot of stitches! This makes everyone of them perfect the first time and I’m not tearing out my hair! Thank you!
Thank you so much. I’ve had so much trouble in the past joining my binding. This is so clear and easy to understand.
The easiest binding join I’ve found
This is a wonderful tutorial — thanks so much. I’ve been quilting for 20 years and have never seen it put so simply.
Best tutorial I’ve seen. It worked the first time! Thank you!