


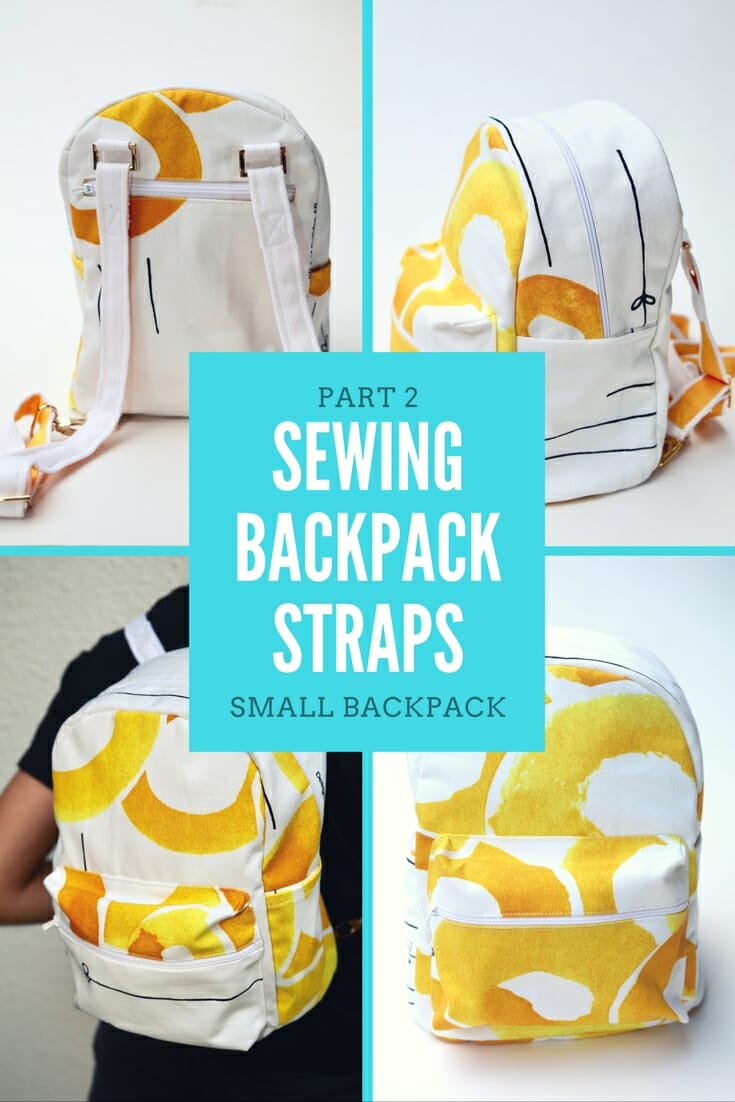
 This is a tutorial on sewing backpack straps and it's the second part of the Small Backpack Pattern sew along. If you landed here directly without seeing the first part of this sew along tutorial, you may want to go back and start the project from the beginning with Part 1: Small Backpack Pattern, for Small Budgets.
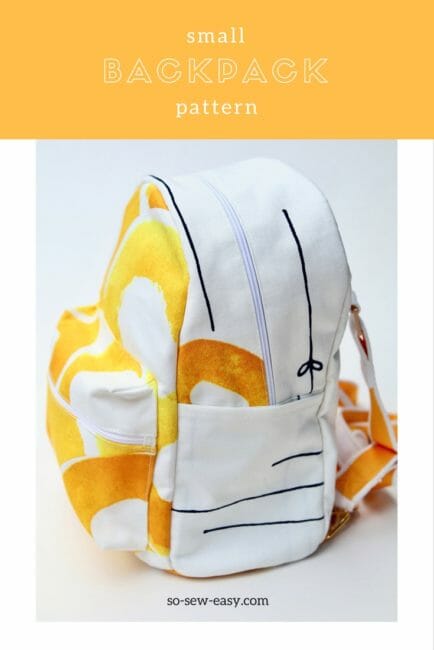
This is a technique of sewing backpack straps. It's especially useful when you do not have enough fabric to make the handles in the same fabric as the bag. You can use these straps on totes, backpacks and cross body bags in leather, vinyl, Kraft-Tex, and fabric.

The first thing you may notice is that I'm not using D-rings as specified in the materials list for the tutorial. Unfortunately, I couldn't get normal rectangular-style D-rings with the rounded sides and I could only find triangular rings and fully rectangular rings. You should use normal D-rings if you can. I would if I could. It really doesn't matter though as long as you keep the hardware the same size and in the same color.


Video Tutorial
Step One: Sewing the outside zipper
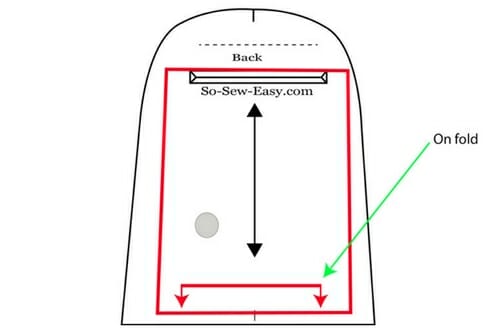
The next step in the tutorial that needs to be done before we can attach the backpack straps and hardware is to create the back piece of the backpack along with the outside zipper. You will be working on the back pattern piece of the small backpack pattern.

You can download the pattern for this Small Backpack from our account at Payhip.
For help downloading and printing PDF patterns, please CLICK HERE.
For installing the outside zipper, I'm not going to repeat what has already being taught on the website, so for a fantastic tutorial on how to sew the outside zipper please watch this video on adding a zipper pocket to a bag or purse. Follow the drawing below the video to give you an idea on how to cut and install the pocket.
Step Two: How to make the backpack straps
Cut the full length of tape in half so that you will have 33″ of tape per strap. This will eventually make a 24″ strap.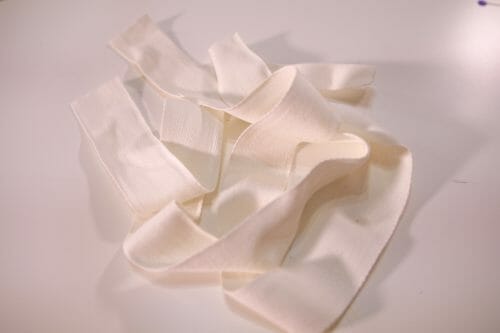
Fold the tape in half lengthwise and iron to make a crease.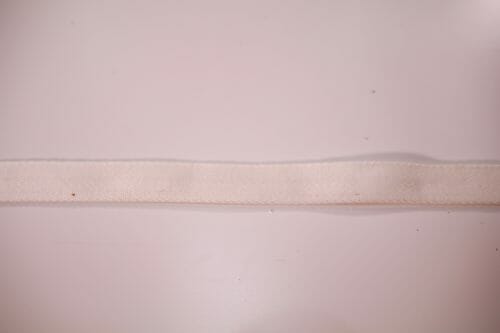
Use the crease you made with the iron to guide you. Fold each side to come to the middle of the tape. 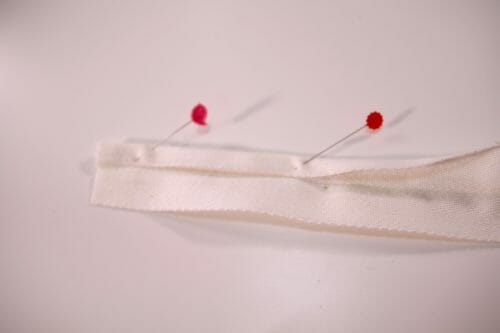
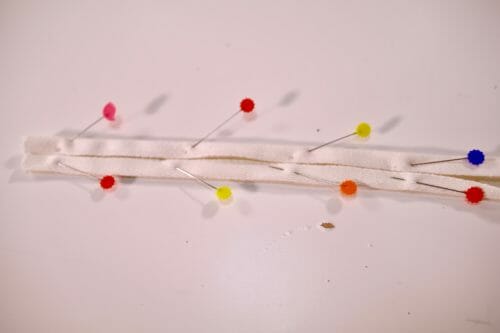
Pin the ribbon and sew at 1/8″ on the ribbon edge. If you do not want the tape to show use a 1″ ribbon. 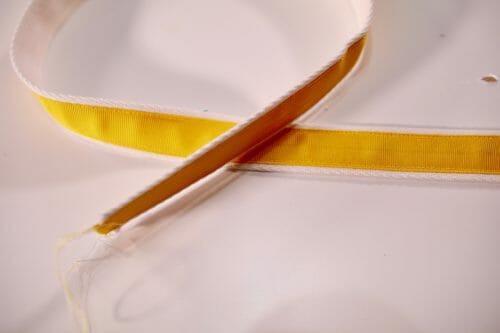
Step Three: Attaching the hardware to the backpack back
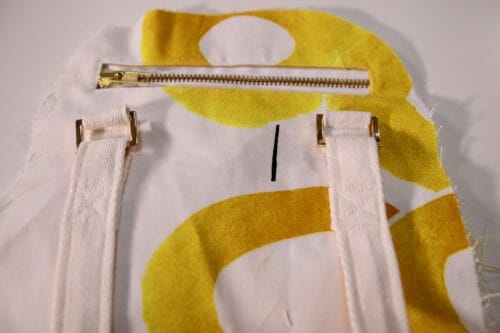
After sewing the cotton and ribbon together, make the tabs for the rings. You will need four in total. I used approximately two inches of cotton tape per tab.
I am using the cotton tape only and not the ribbon. If I used the ribbon as well, I don't think my machine would be able to take all the layers when it comes time to put the backpack together.
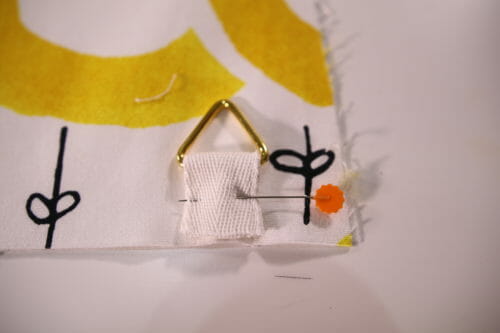
At the bottom corners, place the rings and tabs one inch from the edge.
Note: I am using photos from the two backpacks I have made for the blog and video. I decided to change the design a little between the two version, so please follow the placements for the tabs that is shown on the pattern. 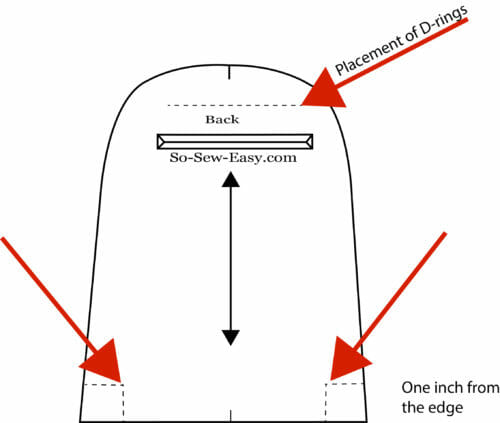 When putting the backpack together, you will need enough space for the seam allowance and the foot to be able to sew next to the ring.
 For the top rings, you will need to fold the strap over so the raw edge does not show. Cut the cotton tape 3/4″ from the stitching line and sew. I overlapped the edges.
 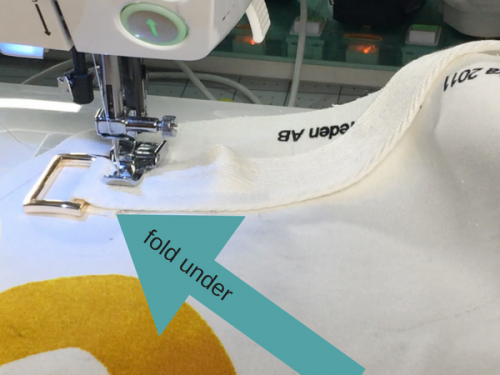 Sew as close to the rings as possible. Use a zipper foot if you want to get even closer.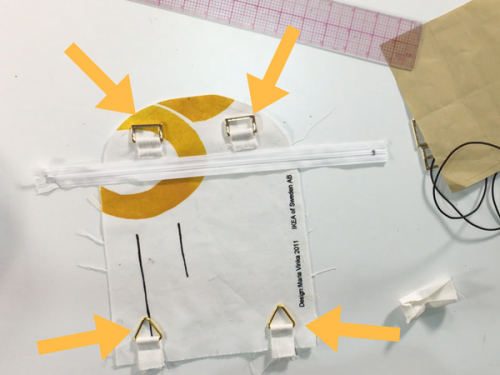
Step Four: Adding the hardware to the straps
Place the ribbon side up.
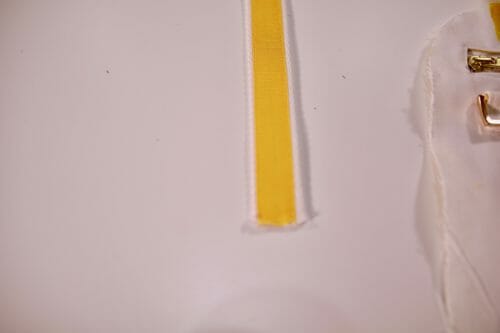 Thread the strap through the ring.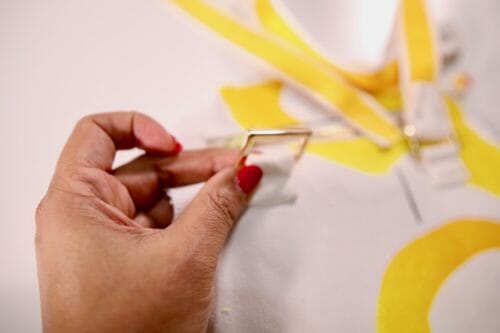
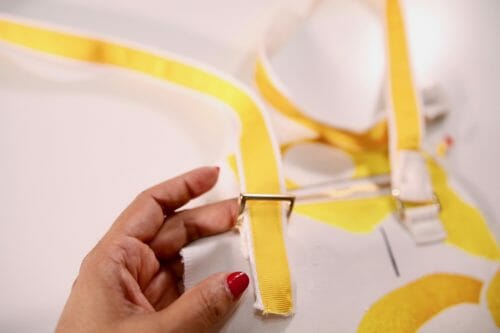 Fold one inch.
 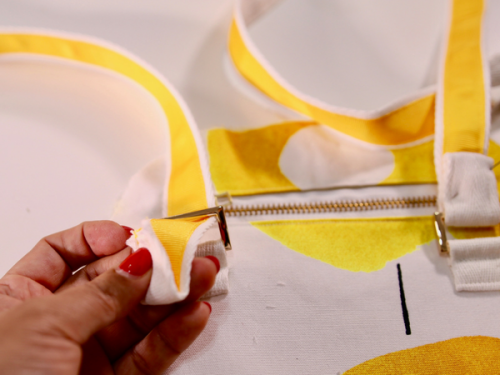 Pin this end two inches from the ring.
 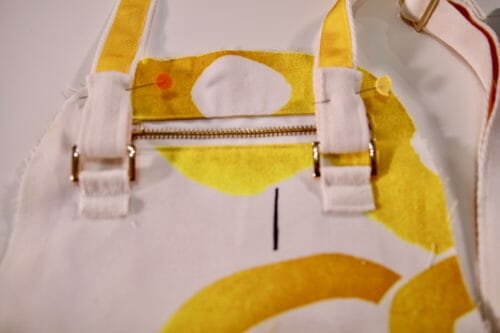 Sew the straps making a large X. Alternatively, you can use rivets or screws with a hole puncher as in this picture.
On the other end of the strap, thread the slider. Thread the strap through the first hole.  Then pass the strap over the bridge to the other hole.
 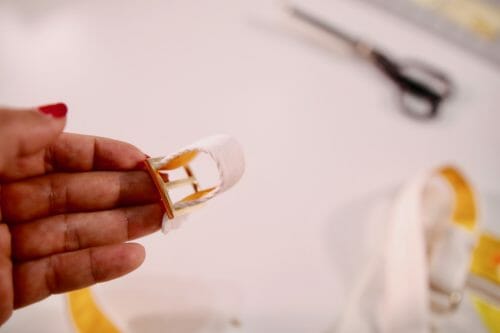 Thread the lobster claw clasp.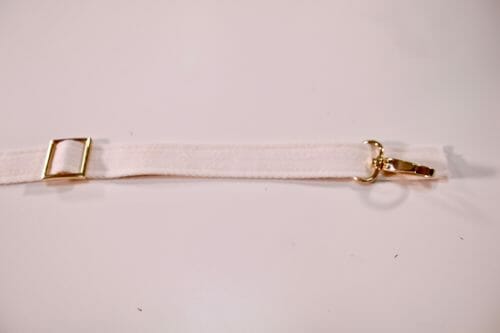
To make this step easier, pull the strap away from the bridge. 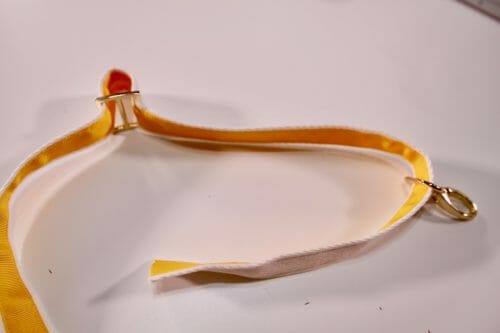 Insert the end of the strap through the first hole.
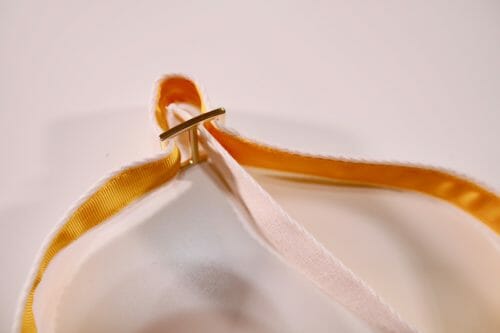 Then over the bridge and through the other hole.
 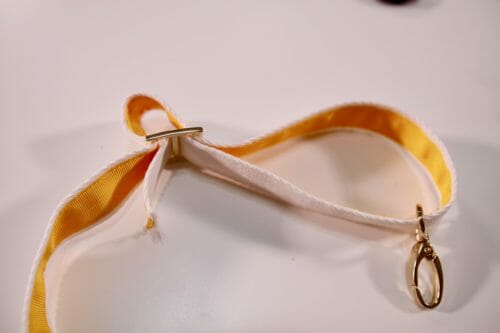 Fold the end of the strap one inch and pin it about two inches from the slider.
 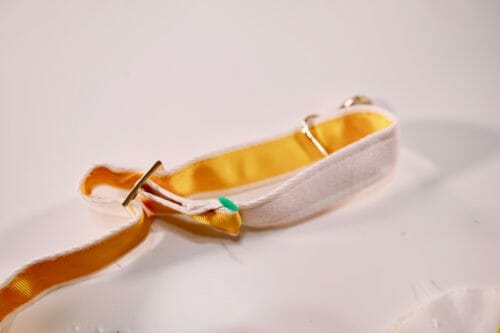 Sew the same way you did the other end creating a large X with the stitches or place a couple of rivets.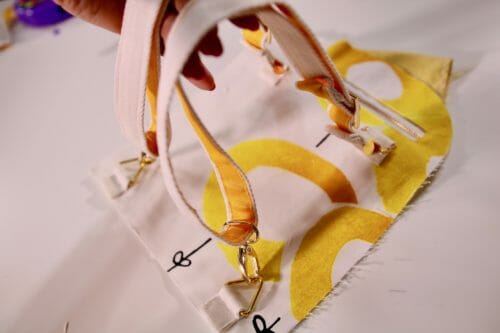
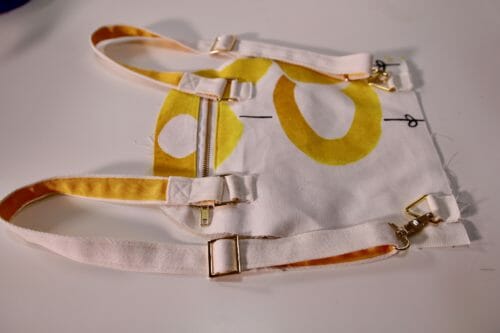
And there you have it. Next, I will show you how to make the applied pocket and how to finish the backpack. Until Next time!
































Hi, I printed this pattern, but find it very hard to match the sheets and I am not a beginner. Same issue with the “walking shorts”. Is there a need to cut any of the sides? I tried cutting off the part where there is only a few millimeters missing off the page but then the writing on the pattern has missing letters and I’m thinking it shouldn’t be like that. Then I tried to match without cutting anything but still doesn’t work, it matches with the upper page but doesn’t match the bottom page. It’s hard to explain, would be better if I could show the photo. Did anyone encounter this? Thank you, Hajni
Can you send me the photos at mayra@so-sew-easy.com This is an old pattern almost two years old. Did you use Adobe reader and Actual Size without scaling at all?
Where did you purchase the hardware for your bag?
Thank you for sharing!
I am lucky enough to live in Singapore and purchase all my bag supplies from http://www.singmuiheng.com/ it is my go-to place for cotton fabrics, canvas, and sewing and bag supplies. They deliver overseas.
I found the pattern hard to join cut and connect
BUT i did finally make the bag
Hi Vivian, thanks for sharing your work!
Hi, I can´t download your patter, Could yo help me?
Hi Jimena, do you have an account on Craftsy? you need to have it to be able to download patterns.
how did u get d pattern dear?
I can’t download PDF instructions to make the bag. I get a PDF download “application” but not the directions for the bag. What am I doing wrong.
Please go to the second page on part one here is the link
Great information video.. Thank you.
Thank you, Judith 🙂
Love this bag, easy enough for a beginner.
Thank you Annelie, yes it is a very rewarding project for a beginner and easier than it looks.
Hi I was wondering, where do i take the back pocket piece pattern? Is there one or I may just take another fabric piece? thank you for this great tuto and pattern!
HI Audrey, the pattern is in the first part of the tutorial. Trace the red lines but the bottom need to be on fold. Send me an email if you still have questions at mayra@ so-sew-easy.com
perfect! I got it thanks a lot 🙂
have 1 and 2 but have been unable to find What do I need to do Norma
The instructions start on Part 1 on the second page.
Hi Norma, Part 1 is where all the instructions started. Here’s a link: https://so-sew-easy.com/small-backpack-pattern-for-smaller-budgets/
In Step 2 you mention sewing on ribbon to the cotton tape for the straps. It is not mentioned in the material. How much and how wide of ribbon is needed?
Hi Katie, it is the same amount as the cotton tape.
Is there a video part 1? Where can I get it.
HI Sue, not out yet, soon. It will be a long one.
Have you posted Part 3 on how to finish the bag? Did I somehow miss it? I don’t want to start until I have all the instructions. Thanks.
Hi Veronica, Part 3 will be out on Saturday. There will also be a video as well but that may only be released on Sunday. It’s all coming. Please stay tuned.
Hello! I was wondering where the part 3 is??????
Absolutely great tutorial, thank you for your time and effort. 🙂
It is truly my pleasure 🙂
Wow. Never thought you can make a backpack with this. You have a great talent in sewing.