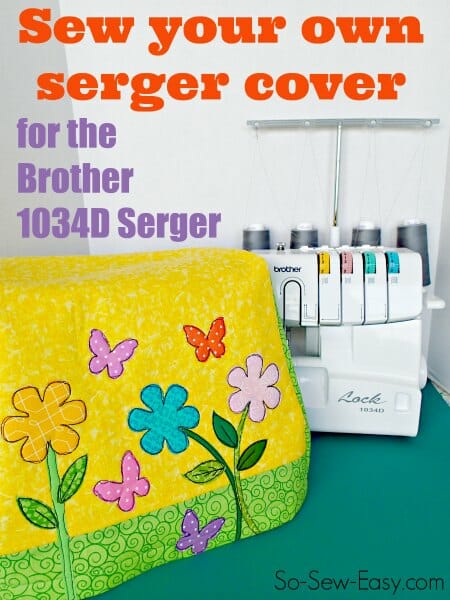
 I know several of you treated yourselves to the Brother 1034D serger (alternative UK link) at Christmas when it was on special on Amazon. Me too! (Remember the embarrassing video of me taking it out of the box and not knowing what anything was?)
It comes with a plastic cover, but let's face it, it can be described as ‘flimsy' at best. Here in Cayman I live right on the sea and the air is always humid and salty. Anything and everything in the house rusts and disintegrates in no time, and my serger is no exception. It's already going rusty, and I think my sewing machine is in bad shape too. I'm not sure a cover will help, because the air all around it is what's causing the rust, but I have to try to protect it better if I can.
So I drafted up a simple pattern. There are two options. Either make a lining to cover up your inside seams, or leave it unlined – up to you. My fabric stash is small and precious to me so I'm making mine without the lining, but instructions are included it you want to make yours pretty on the inside too.
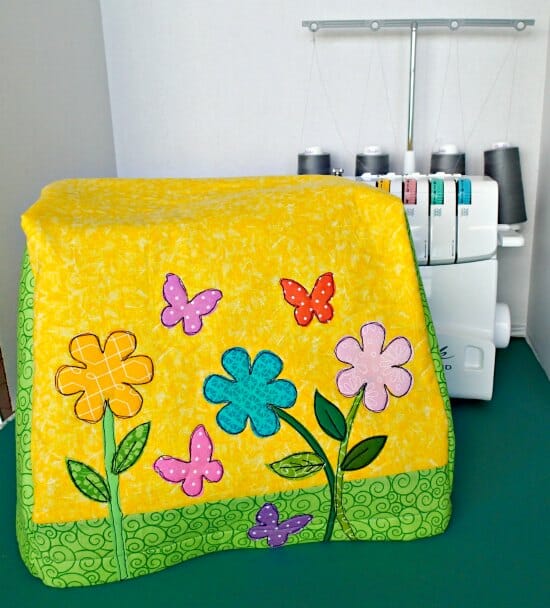

Materials needed to make a cover for the Brother 1034D serger
- Cotton fabric – total 3/4 yard
- Optional – if making a lining, you'll need another 3/4 yard for that on top
- Fusible fleece – a piece 26 by 33 inches
- Any decorative elements you want to add such as appliques, buttons, trims
- The pattern download -see below
You can download the pattern from Payhip and choose your price. You can decide what to donate for this pattern, anywhere from zero upwards. Decide what it's worth to you. Thanks so much for your generosity. For help downloading and printing PDF patterns, please CLICK HERE.


How to sew the Brother 1034D serger cover
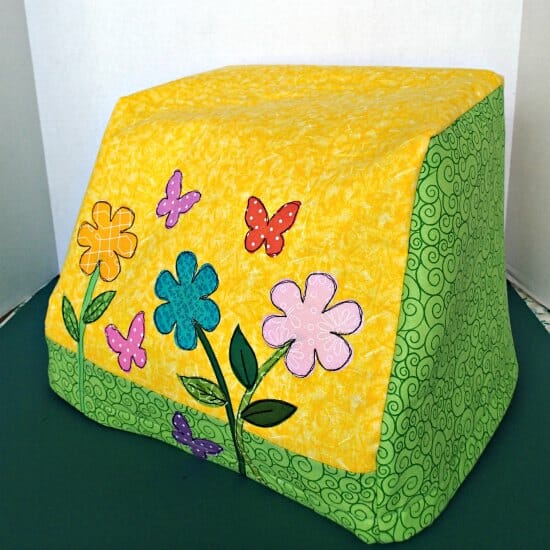
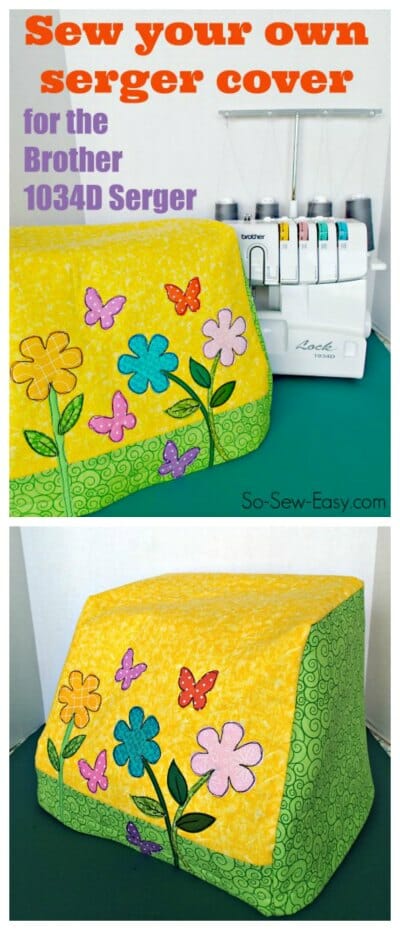
I wanted to model my cover on the Spring Applique Pillow Cover I made recently because I had fabric and Shabby Shapes left over, and because it was so darned pretty. I loved how bright and colorful this is. So my cover is made to match.


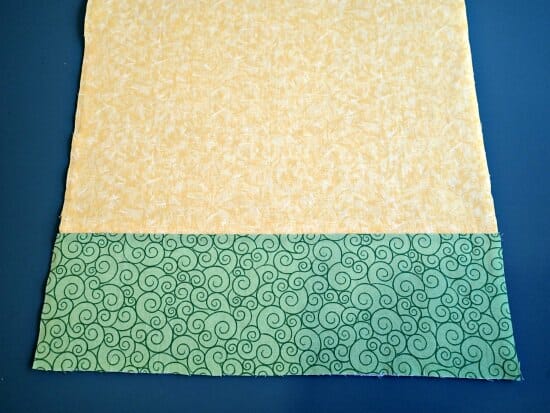

Iron your fusible fleece to the back of this panel. If you are adding any decorative elements such as applique etc then add this now. You could also choose to add a couple of simple pockets to hold some sewing supplies at this stage too. (Read the earlier post about the pillow to learn about this sketched applique).


Cut your two side panels. Remember one will need to be the mirror image of the other. Iron the fusible fleece to the reverse of these two panels as well.
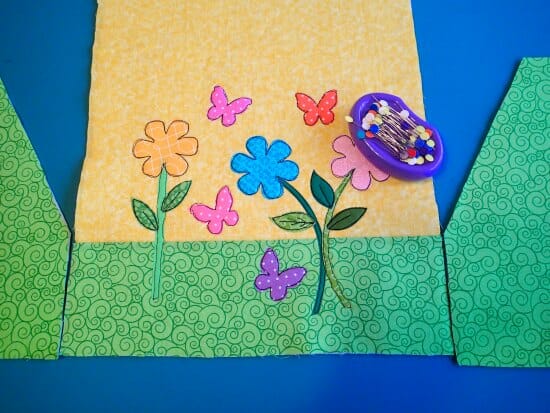

Now it's just a case of sewing it all together! I found it easiest to mark on my 1/2 inch seam allowances and where they overlap at the shaping of the cover is my pivot point.
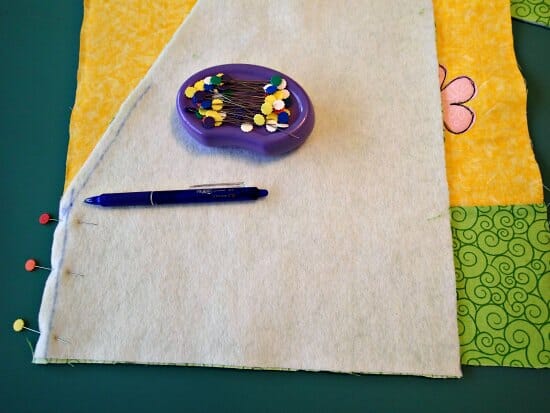

Sew to the pivot point, leave your needle down and then pivot the fabric until the two raw edges are meeting again. Then sew to your next pivot point, and continue until one side is completed sewn in.
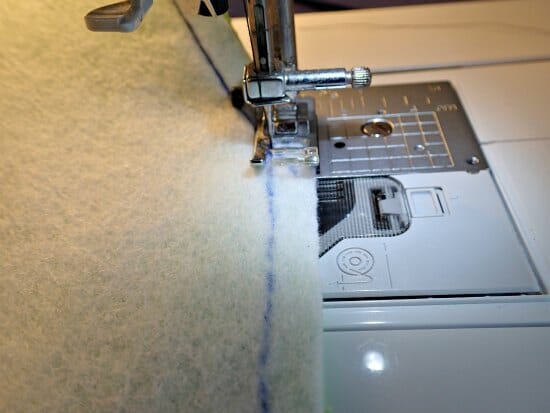

Repeat for the other side and check for ‘fit'. Trim up around the bottom if you need to/like to.
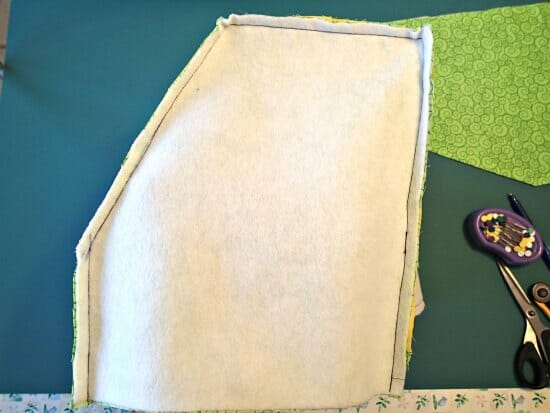

If you don't feel the need to add a lining, just turn up your bottom edge all the way around and stitch it in place. I used a nice wide 1 inch hem as it seems to give the bottom edge a bit of extra stability.
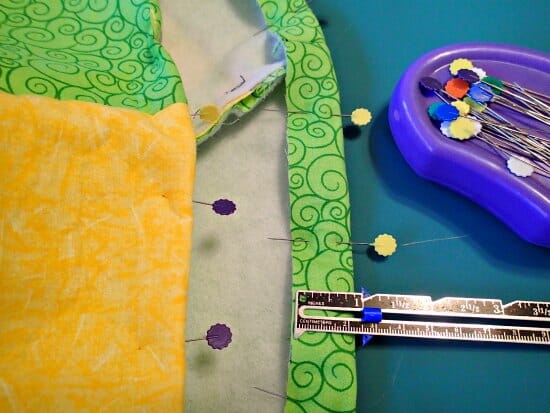

That's it, the serger cover is finished.
If you want to line your cover
Once you are happy with fit decide on whether or not to line it. If you want to make a lining, complete it the same way you did for the outer piece, (fleece is optional) but leave a gap in your stitches along one of the back edges so you can turn it later – just like you do with a bag.
Then put the outer right side out and the lining right side in. Put the outer inside the lining. Match the raw edges around the bottom and sew them together. Turn out the right way, close the gap in your lining and sew the two together around the entire bottom perimeter with a nice wide band.
Now all of your raw edges are hidden and your cover is just as nice on the inside as it is on the outside.
Enjoy your serging!


You can download the pattern from Payhip and choose your price.
You can decide what to donate for this pattern, anywhere from zero upwards. Decide what it's worth to you.
Thanks so much for your generosity.
For help downloading and printing PDF patterns, please CLICK HERE.
Need to learn how to use your serger?
My review of the Beginning Serging Class on Craftsy
How to change colors on your serger
How to thread the Brother 1034d serger
Must have features for your first serger




awesome!!!! after trying to do my own for entire day –came out not so good. then i thought of online instructions and looks great! thanks
I just love the beach dress thank you so much for sharing your pattern I would love to sew the beach dress,
Very nice will try
i will make one for my sewing machine .love it
Can’t find template/pattern
Thanks for the pattern and tutorial. I used cotton with fusible interfacing instead of batting so that’s probably why it doesn’t hold it’s shape so we’ll but I did find that the pattern could have been at least half an inch longer – it doesn’t go all the way down. In any event, I’m proud of my first project with my new serger. The cover I made is still light years better than the plastic one it came with. All the best, Rebecca.
So pretty! Do you know if it will fit the Brother M343d as well?
It wasn’t until I left my flimsy plastic cover next to a hot iron which melted a hole in it that I got around to using this pattern. I’ve just made a lined version with left over decor fabric and I love it! Nice quick sew. Thanks Deby and Mayra for another great free pattern.
You are most welcome:)
Hi! do you have this cover for sale? thank you!
Hi Galina, we provide free (mostly) patterns and tutorials. We don’t offer any finished products for sale. What do you have a go at sewing this cover?
Thank you for the pattern! I have the same Brother serger, but couldn’t figure out how to piece the cover together. I’m an advanced beginner sewist, but the muslin I made didn’t fit. Luckily I didn’t use better fabric!
can not print instrutions where do you press,done template would not print instrutions
Really wish you would have included pictures on how to line up axnd assemble the pattern template pieces.
Hello, I saw this design on Pinterest and love the design (and the fabric, too – it’s what caught my eye). I do have a question. Do you know the dimensions for this particular Brother Serger? I would like to compare the dimensions of the Brother to my serger before I attempt this design. Thanks!
Yes of Course Carlyn, happy to help you, the dimensions are Dimensions: 10.83 x 13.18 x 11.73 inches (W x H x D)
Cheers!
Mayra
Well I printed my pattern, however my dots and lines don’t match up… Please help!
Can you double check what print settings you used and send those over, and also a picture of what’s up with the pattern so I can help you to diagnose why things aren’t lining up. Email to deby@so-sew-easy.com and I’ll be happy to help.
Mine didn’t line up either, so then I printed again using the landscape setting on my printer and it all printed just fine.
Hi, I am going to make this next, currently sew in the conservatory open to all the dust etc but moving up to my ex office soon. Hooray proper sewing room. I can coordinate this cover with the bunting. .OH is bunting a phobic so am going to let rip in my own room!!!!!
Cute cover. I need to make one for my Singer serger. I do have a question: What to you do with the thread guide when the cover is on?
My thread guidea is extendible so it slides up to use it and then slides down when its not being used. So it just slides down flat when teh cover goes on.
what a lovely cover thank you so much!
I definitely need to have a cover for mine 😉
Lovely Deby! It looks fun and would brighten any sewing room! 🙂
I love scribbly applique. Looks great on your overlocker cover, Deby!!!
What are the measurements for the side pieces for the cover for the brother 1034D serger? I would like to make this.
Hi Shirley. No need to worry about measurements, I’ve already made a pattern piece for you which you can just stick together and use as a template for the side panels. If for some reason, you don’t want to use the pattern but prefer measurements, or you have a different machine, then you can measure your machine along the sideways measuements, and add on a little ease so the cover isn’t very tight and that should do nicely whatever machine you have.
You might try making the cover out of oil cloth. It’s a canvas or knit back with a vinyl-like front. It probably would be found in the upholstery department. It can be thin or thick depending on the front of the fabric.
I love this, I have the Brother 3034 which I think is the same size so I have already downloaded and ready to go. Thanks for the great patterns Deby.
is fusible fleece the same as fusible interfacing?
Not really Mindy. Fleece is far more lofty and thick, more like a padding. If you don’t have it, then you can either skip it altogether and leave your cover floppy, or you could apply a firm fusible interfacing to help it keep its shape. A couple of layers if you prefer a stiffer look. You might find this article really interesting – it compares all sorts of different types of interfacings and stabilizers so you can see what they look like on the fabric.
Love the cover! My parents lived on the beach for years and Mom put small rotary fans everywhere to keep the moisture at bay. It worked very well! The charcoal works well too! Are you able to use those special bags where you can vacuum out the air for your scissors and such? Put some silica gel in themToo. Bet you could do it girl your machines too!
That’s an interesting idea – vacuum seal everything inside. It could work for sure, but I’m not sure I’d have the patience all the time, getting the machines in and out of bags. But for the small supplies in a tool box, it would be more manageable. Thanks for the idea.
OMG we live in Yorkshire. My hubby says what about WD40 or preserving oil which he uses at work. We have no warmth but I use an old 801 Bernina. I envy you most times but not for this K xXx ps working on 3 skirts of your latest freebie. Thank yoy
Re: the salty moist air … perhaps you could collect and sew those moisture absorbing packets into your cover for your machines?
I have a Pfaff Hobbylock 2.0, does anyone please know how that compares in size and shape to the Brother to know whether this would fit – it too comes with a cover so useless I will confess to not even bothering to use it…
You might be able to search around online for dimensions and see if the two are similar enough for it to fit. Or measure your machine and compare to the measurements in the pattern and adjust a little if you need to.
Use that useless cover to get measurements 🙂
this is adorable. thank you so much for the tutorial. now I wont have a sheet covering my serger. LOL
Another really cute project Deby! I’ve always envied you living by the beach, but I never thought of the downside to the the humid, salty air. That’s too bad.
Just a thought…I live half of the year in Florida. When I leave I put charcoal….the stuff you use when you barbecue in a plastic container with the machine. It helps to reduce the amount of humidity that gets to the machine. You could easily put ths container under your beautiful cover you made for the serger.
That’s new to me Claudia, thanks so much for the tip. I’ll certainly give it a try. Do you use a box with a perforated lid to keep the dust down and still let the air in?
I guess it depends on the charcoal you use. The type I use is for a barbecue so it comes in 2×2 inch chunks or bigger. If what you have is smaller then I might suggest a lid with lots of holes say the size of a straw opening. I hope that helps. I don’t mean to pry but approx what did you pay for your serger. I would like to get one next year when I’m back in Florida. Really missed not having one this winter. But did not want to bring my expensive one down due to the fact of the high humidity. It enjoys living in the mountains.
I got it on Amazon. The price does vary up and down a little from time to time. I think I paid around $175 HERE.
Have you tried keeping those silica gel sachets inside your machine cover … that should help soak up the excess moisture in the air and help prevent your machine from rusting. Just keep them out of reach of your cats cause they’re toxic
I do keep a big tub of it inside my sealed tool box with all my scissors, rotary cutter etc, but still a rotary cutter won’t last more than 3 weeks. With the air this salty and humid, there really is nothing to be done. We even have to get the locks changed on the house about every 6-12 months, all the light fittings, light switches etc, everything rusts to rubbish in no time. I just might try hand stitching some sachets inside the cover though, every little can help.
Yes! I’m so so excited to see this! Thank you!