


 Wide leg pants are sometimes called Palazzo pants although the designs can vary a little. This wide-leg pants pattern is sure to give you a long and elegant look. At least that's what I am told every time I wear these pants.
I am currently in the southern hemisphere. The days are nice and warm but the nights are so cool that it's impossible to wear shorts (comfortably and without shivering uncontrollably). It is mid-autumn and from my window, the leaves are starting to fall and change color. The sun is glorious and I still refuse to wear the dreaded black color that most people here prefer in winter.
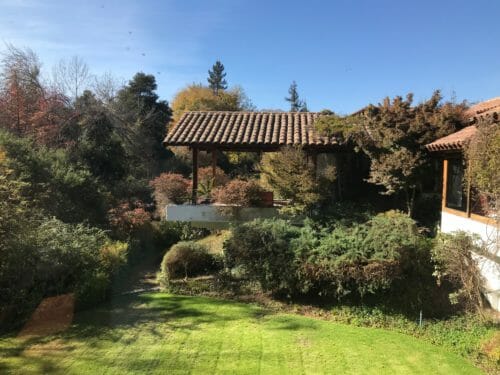
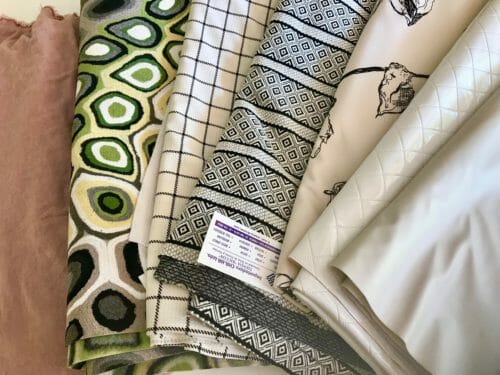
To take advantage of the warm daylight sun, I went to the market and bought some jacquard knit. I am determined to wear lighter colors until the harsh cold of winter will force me to put some jeans on. You may recognize one of the fabrics in my current stash from the carpet tote bag project.
Carpet Tote Bag FREE Pattern – Making Bags From Unusual Materials
If you have seen my Instagram lately you would know that I have made these wide legs pants before, about a couple of months back. In fact, I have made three so far one in jacquard knit, one in grey wool, and another in blue polka-dotted crepe fabric.
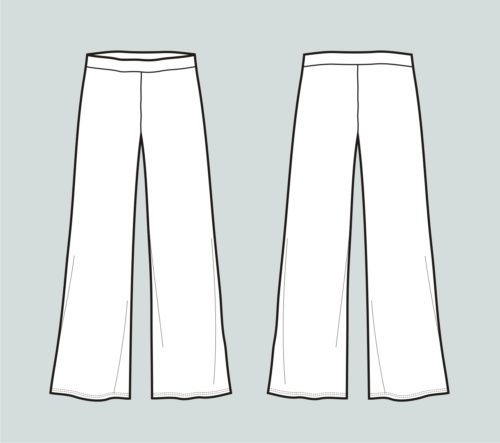
These wide leg pants are not as wide as the old 1970's ones but are more similar to the classic width from the 1930s. This makes a great pairing with a tucked-in blouse, a short tank top, or my personal favorite — a bodysuit.
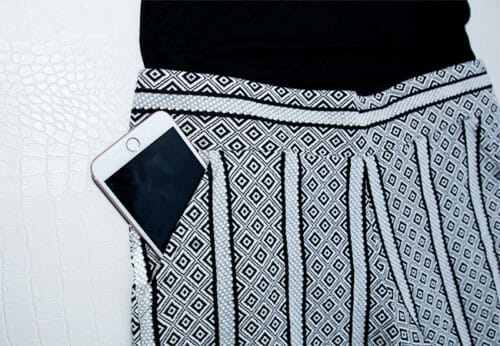
I have added my favorite type of pockets, the slanted pockets. Stylish and useful.
Also, they have a waistband that gently hugs you, without making the dreaded muffin top.
And finally, they can be made long enough to fall just at the edge of your shoes without dragging on the floor which I will show you how to lengthen them in a separate tutorial.
I noticed though that the current trend is to wear them around your ankle or a bit shorter which is perfect for the tall gal. I am not in that group and longer the better.
This is probably an advanced beginner or intermediate project. I hope you give it a try.
Note: Please read all the instructions before you attempt this project. The pants are petite friendly and if you are tall follow this tutorial on how to lengthen any pants pattern.
How To Lengthen Any Pants Pattern- Basic Pattern Transformation
This pattern is for use with stretchy knits only.
Materials
- 2 to 2.5 yards of 60″ jacquard knit, double knit, bamboo or linen/cotton knit
- Elastic for waistband (optional)
- Thread to match
Tools
- A jersey or ballpoint needle
- Sharp scissors or rotary cutter
- Pins
- Sewing machine with zigzag stitching
- An overlocker is ideal but not essential
Recommended Fabrics from Fabric.com
This wide leg pattern is very functional and the look will change depending on the fabric you use.
Use jacquard knit or a pique knit for a tailored look. Stretchable knit and bamboo for a summer look.
Pattern download
You can download the pattern for these Wide Leg Pants from our account at Payhip.
For help downloading and printing PDF patterns, please CLICK HERE.
Finished Garment Measurements
| Size | High Hips | Hips | Hem Width |
| 6 | 31″ | 52″ | 58″ |
| 8 | 32″ | 53″ | 59″ |
| 10 | 34″ | 54″ | 61″ |
| 12 | 35.5″ | 55.5″ | 62.5″ |
| 14 | 37″ | 57″ | 64″ |
| 16 | 38.5″ | 58.5″ | 65.5″ |
| 18 | 40″ | 60″ | 70″ |
| 20 | 42″ | 62″ | 72″ |
Pattern Layout for the wide leg pants pattern

Printing Instructions
Use the latest version of Adobe Reader, this is the only program you will need and we are not asking you to download any other program nor pay for additional programs.
Print the pattern for the carpet tote bag on Actual Size and in a Landscape format.
Cutting Instructions
It is imperative that you maintain a strict grainline, or the pants will not fall the way they should.
Sewing Instructions: Step One
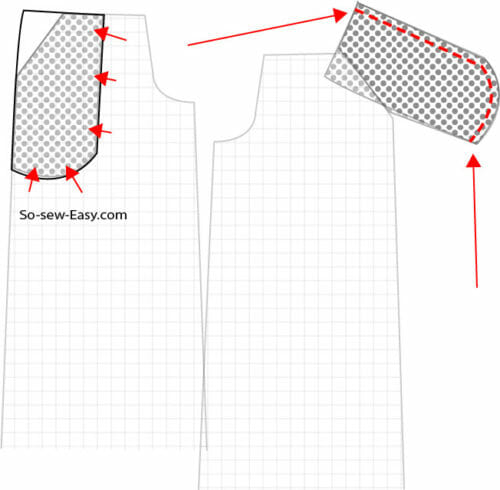
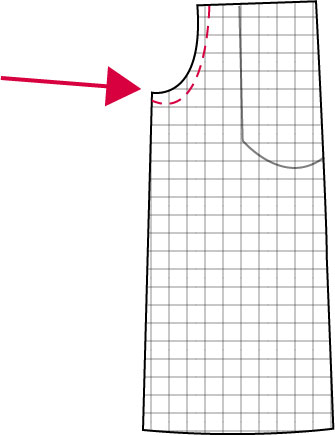
We are going to start by sewing the slanted pockets.
The following illustration is to show you when I talk about print side up or down.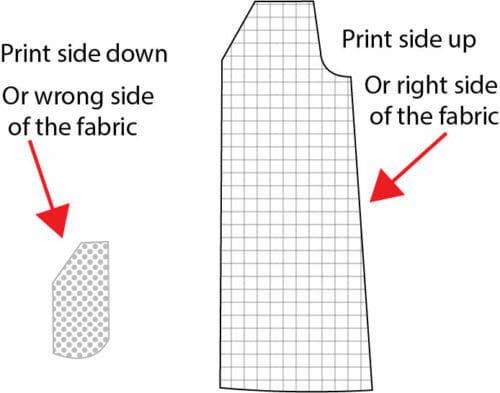
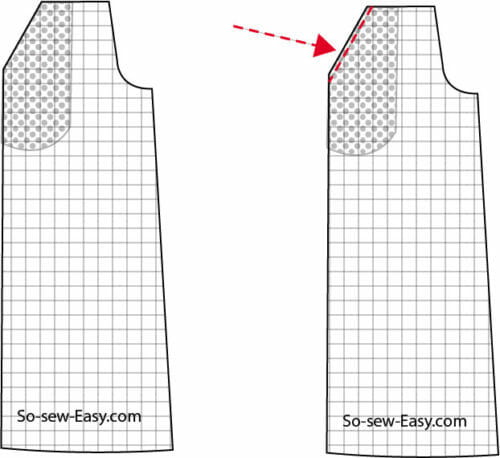
Place the front of the pants print side up. Align the slanted side of the front of the pocket with the slanted side of the front of the pants and sew at 3/8″.
Turn the leg print side down and iron the seam allowance towards the pocket. 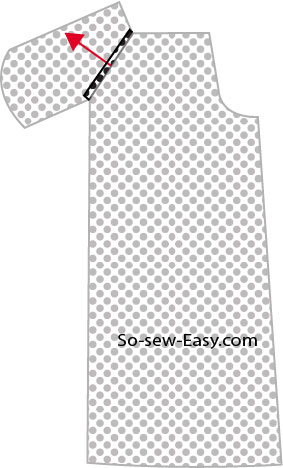
Turn the pocket right side in and topstitch 3/8″ from the edge along the opening of the pocket, use a medium stitch.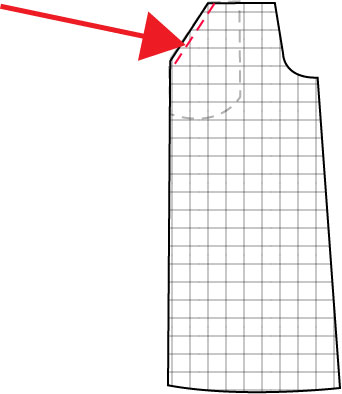
Repeat on the other leg.
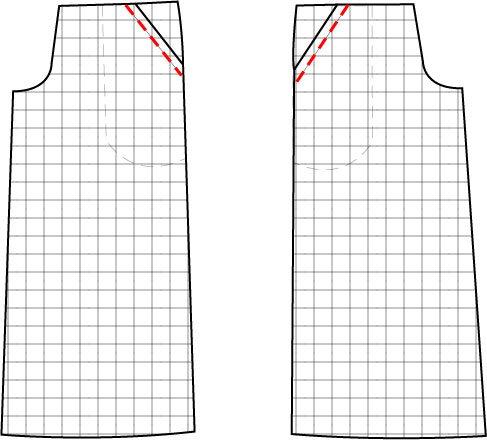
For the next step, you will need the front of the pants print side down and the back of the pocket. Place the back of the pocket on top of the front of the pants aligning it with the other side of the pocket. Pin the two sides of the pockets and sew at 3/8″. Do not sew the sides of the pants yet, this step will be done when we joining the back with the front of these wide-leg pants.
Turn the pockets and topstitch the slanted line.
Step Two
Joint both front pieces print sides together and sew the crotch on the front.
Sew the crotch at the back.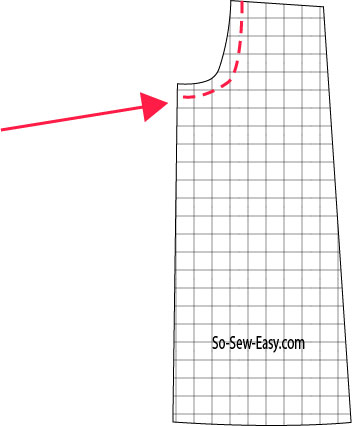
Step Three
Simply sew the sides and inner legs at 3/8″.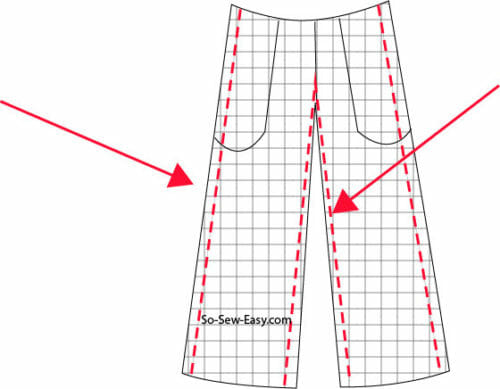
Zigzag the seam allowances before you continue to the next step.
Step Four
In this step, we will be making the waistband. The waistband is not included in this wide-leg pants pattern so we will have to draft it ourselves.
Simply measure the waistline of the pants and draft a rectangle that is 2 1/4″ less than the waist of the pants. You will find that a 2″ subtraction is enough to make the waistband fall on your hips just nice.
Cut the waistband 4 3/4″ X waist measurement of pants minus 2 1/4″. Before you cut the fabric find a wide elastic and try the measurement you have come up with and make sure it is not too tight nor too loose. You want just the right hug around your waist to avoid any lumps or bulges. Let me clarify you will not be using the elastic on the waistband. The elastic is just so you can see how the waistband is going to look around your hips.
A too-tight waist will ruin your look, a too loose waist will make you uncomfortable thinking the pants will fall or there is going to be a gap on your back.
Sew the waistband at 3/8″. Fold it in half, so the band will be doubled. Mark the front, back, and side seams of the waistband. 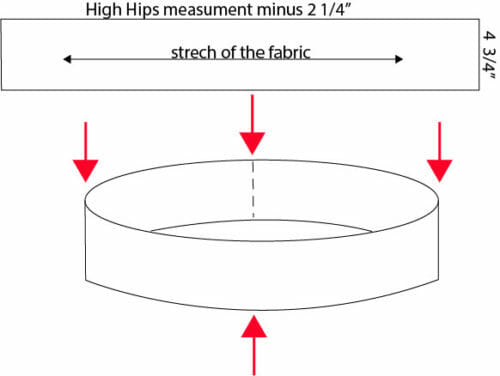 Place the seam to the back and thread the pants through the band.
 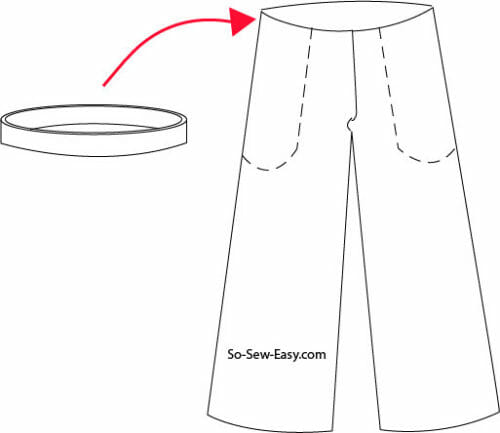 Pin front, back, and side seams and stretch the band between these pins as you sew.
Finally, zigzag the hem. Fold the hem 1″ and stitch.
Then iron the pants, find some fancy sneakers, a hat, and a tank top, and go for a walk. It's a lovely day! At least in my neck of the woods.
Hope you enjoyed this pair of wide-leg pants. I thought they would be fun to make since people are always asking me; where did you get them? Then I say that I made them myself. I'm sure you all know what a great feeling it is to have one of your creations appreciated by others. I am bragging just a bit, but hey! I really love these pants they can make anyone feel taller, cooler, and younger… what else can I ask for?
Check back next week when I will be showing you how to lengthen these pants and add stripes to the sides.
Until Next Time! Happy Sewing!


I’m just curious why you topstitch the slant of the pockets again – stitching them closed? – after you’ve added the back pocket panel.
You are so talented & your detailed explanations are deeply appreciated.