


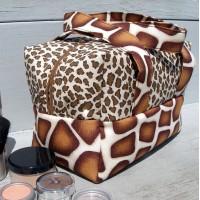
Take a look at some of the bags you own. If you are a typical woman, you probably own more than 3, maybe even more than 10. Bags can be made for all types of purposes, styles, and occasions, but generally, they are all designed to do the same thing – carry things. To fulfill their basic function, they will usually have common features such as straps or handles, zips or closures, and pockets.
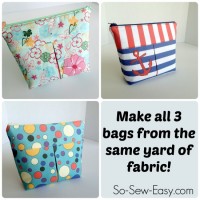
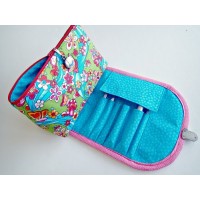
They can be flat like a simple tote bag designed to carry a few light items and perhaps roll or fold up flat or can be designed where their size and shape fit a certain function, such as the Easy Cosmetics Bag you see here.

One common feature that most bags will have is some kind of volume. Whether this is created with pleats, darts or a squared-off bottom, the bag is given both design and volume by shaping at the bottom so that it can carry out its intended purpose and give you the space you need to carry things.
The volume at the bottom in a bag with boxed corners can be created in 3 different ways. Two are similar, one is different. Let's take a look at how to do it with these 3 methods for boxing corners on bags.
3 Methods for boxing corners on bags
Subscribe to the YouTube channel:
I suppose you could call these:
- Cut and sew
- Sew and cut
- Fold and sew
So now you have a few ideas for how you can create some shape and volume to a basic bag. You might like to try out a few of these bag patterns.
 The Boxy Bag
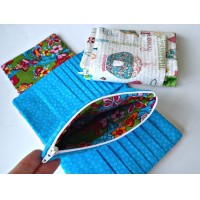
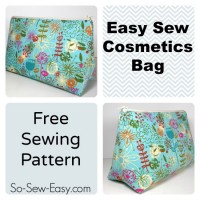 Easy cosmetics bag
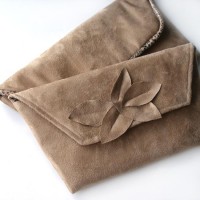 Make It Yours Clutch Bag Pattern
Sewing Contest - win great prizes for sewing this bag!
 Teeny tiny zipper pouch
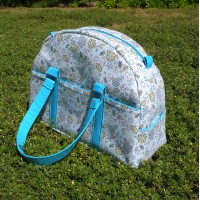 Carry All Bag
 Magic cosmetics bags
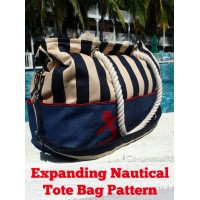 Expanding Nautical Tote Bag
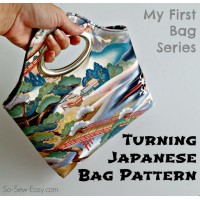 Turning Japanese Bag
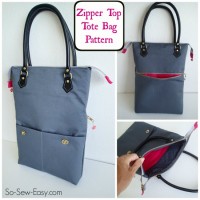 Zipper top tote bag
 Cosmetics bag and brush roll
 The Ultimate Wallet
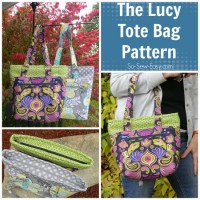 Lucy tote bag
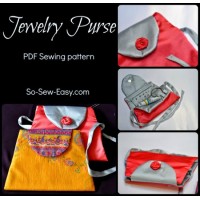 Jewelry purse
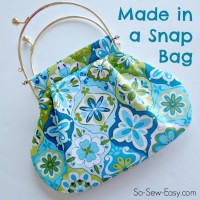 Made in a Snap bag
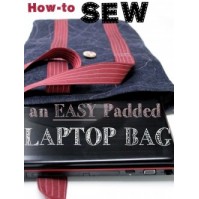 Padded Laptop Bag Tutorial
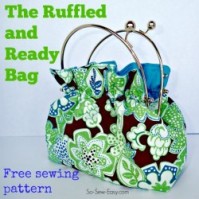 Ruffled and Ready Bag
 Jewelry purse
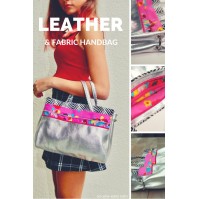 Leather & Fabric Handbag
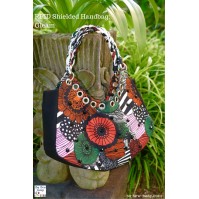 RFID Shielded Handbag
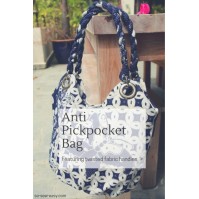 Anti Pickpocket Bag
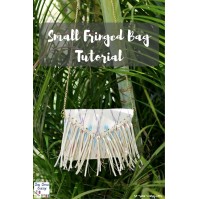 Small Fringed Bag Tutorial
Are there any other aspects of sewing bags that you would like to learn more about? Check out the Tutorials Page in case its already covered, and then leave a comment below and let me know.


I loved this!
Happy it is useful to you.
Why the assumption that only women will be reading this article? Men sew too! Why not just say “You probably have many bags around your house that show different construction methods”.
Well man best designers, best tailors all man, Let hear it from the boys…You are the first man to comment on this blog I should give you a present!
So great tutorials! Easy and well shown so I understand. Thank´s a lot for all these wonderful tuts and great patterns. Make my sewing be wonderful.
You are most welcome, Marie!
Wha…What?!?!? That 3rd method is GENIUS!! I work with leather, which can be extremely challenging, and I’ve used methods 1 and 2 with mixed results due to the bulkiness of the leather. Method 3 looks so much better. Thanks so much for the tutorial.
I will be teaching a zipper pouch in May to our local quilt, Heart in Hand & would like to receive permission to print out a portion of your current tutorial, wil be sharing information about your website so they can view the rest. They can see what wonderful ideas & info you share. Heep up tht “good work”. Thank you.
Can’t believe my luck as I’m about to make a bag and wondered how to get a neat finish!
What would it look like if you did the third method but instead of wst, do did rst then sew? The flip would be on the inside and a more boxy look on the outside?
That 3rd method you showed is really interesting and I really like it! I’m going to have to try that one. I always worry when I box corners about that seam possibly being a weaker seam in the bag, and that third method would probably work well if you wanted to box a corner in a bag that might be for carrying heavier contents.
Good video. I was not aware of the third method demonstrated. Learned something new.
Thank you for this tutorial! I have used the first two methods for boxing corners but hadn’t ever seen the third method. Looking forward to trying it for a different look to bags.
Thanks so much for this last type of box corner 😉 What would you call this type of boxing? Love the look of it. Love your video- very clear to understand
So helpful to have these all in one place. I make a ton of fabric bags. Many are simple gift bags for presents. I also make lunch bags and small bags for travel and storage. It cuts way down on disposible wrappings, but also our families love the bags. Thanks for this.
I think this is the greatest site. I am a sewing veteran of 66 years. thank you
Hi Sharon, thanks for your kind words and support. Please stay tuned. The best is yet to come. Happy sewing, Mayra
I wanted to thank you! Although I’ve done boxed corners #1 & #2 many times, I’ve never been told or understood how the the size boxed correlates to the width of the bottom! So simple and yet, I haven’t noticed that it was mentioned. Nice explanations and I’ll have to try #3 as well.
Wonderful tutorial. I was just looking for a bit of a variation of this project. I want to make a bag with a box bottom with sides that taper up to the zip which bends over the top of the bag. Like a pencil case, or box toiletry bag….I am having a hard time trying to use words to describe what I want to do! So, like the triangular blue flowered one in this tutorial photo, but with a zip that starts about 1/2 to 1 inch on the side and the side to taper from 1.5″ to 2.5″
Amazing! what is the name of this fabric please?
Thank you for this and all your wonderful videos! I have a question about method #3 … how would one work this type of boxed bottom and also have a lining which keeps all the seams from showing? (A lining like in the bag you made when showing how to sew a recessed zipper – the kind you sew leaving a hole in the bottom of the lining, then turning the bag.) Somehow, could method #3’s box bottom method work with a lining? I hope my question makes sense!
I think it would work OK. You would sew the lining the same as the outer, but leave a gap either in the center bottom or one of the side seams, then box the corners as shown. It will be exactly the same as the outer but facing in instead of out. You would have to try it though, could be a bit bulky and you might want to use one of the other methods for the lining and method 3 for the outside. Let me know how you get on.
How do you insert the handles in the Turning Japanese Bag? Thank you
You can either follow the written and photo instructions in the download, or watch the video on this page – https://so-sew-easy.com/free-bag-pattern-turning-japanese/
Both will show you how to add the handles.
I want to try the third method but need a pattern because I don’t know how to incorporate the lining and zipper.
I love your Teeny Tiny Zipper Pouch YouTube video and have made several for little gifts to give to friends and family. Your instructions were easy to follow. My first attempt to make one was a breeze. Fun. Thank you for visiting my blog and leaving a comment. I follow you on YouTube and I follow your blog.
In method 1, if you cut at 1 1/2 inch square and sew a 1/4 seam, you will have 3 1/2 inch boxed seam…
You are right in that my measurements and calculations are only approximate to show how the methods work. In fact, when we cut out our square and then match up the seam allowances we are using the diagonal measurement of the square not the side, so it will always come out slightly wider than twice our cut out. Most patterns already have this worked out for you, but f not, its gives you a rough guide.
Wonderful vid. Very informative, clear and easy to follow instructions.
Awesome freebies! Thanks!
Well I have never seen No 3 before and I will try that on my next bag. Thanks for the tutorial.
Just Love your ideas, explained so well, must try method three ASAP!
great video! I have come across all 3 in my sewing travels – since I want to design an overnight bag – I now have 3 ways to do the bottom all summed up for me. I am designing my own fabric on spoonflower in the canvas and making my own bag. such fun! thanks Deby!
The third way is interesting. I haven’t seen that before. I’ve now got an idea for a simple fabric gift bag fermenting at the back of my mind. Thx Deby. I love your blog, tutorials and patterns.